Installing Software On Linux
A Linux computer without software is like a pantry without food in it - just possibilities waiting to be fulfilled. Let's stock your Linux pantry.


An Operating System without programs and software is, well, like a pantry without food in it: you can see the potential but it's fairly useless until stocked up. So let's stock up your pantry. We will use 4 real-world examples of software you may want to install on your Linux computer to explain the most common methods of installing software on a modern Linux computer.
Easy Mode: Use the Software Manager
Many Linux environments now install with some form of a Software manager preinstalled. This is a graphical environment that is similar in function to the app store on your phone or even your Windows computer, with the exception that every program is available for free.
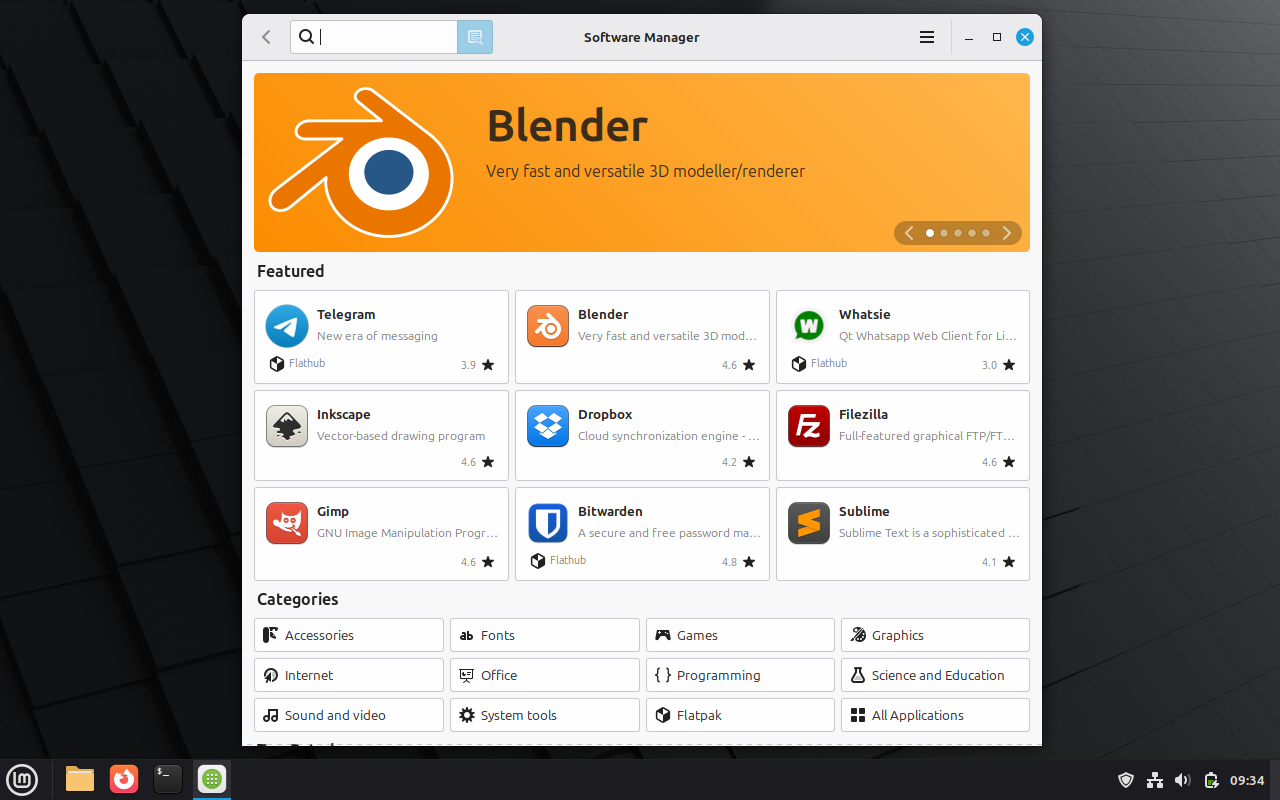
The software manager has all the key features you'd expect:
- A search window
- Featured/recommended software
- Review scores
- Categories
Installing software is just a matter of clicking a few buttons. One of the benefits of installing from the software manager is that your system will be able to automatically update your software for you, if you've already set that up properly as described here. Additionally, software included in the manager is generally software that has been community vetted and works well, as opposed to randomly downloading software off the Internet.
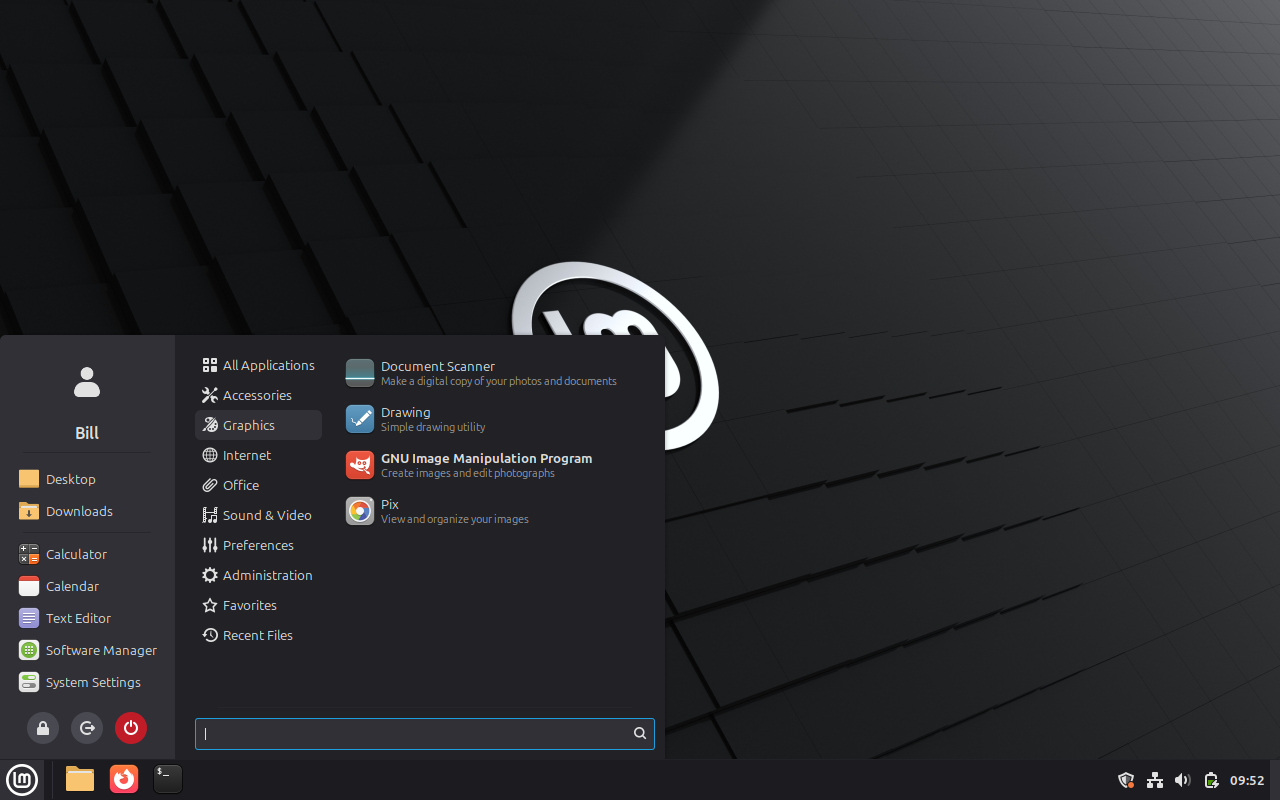
Installing Gimp from the Software Manager
For this example we'll install Gimp (GNU Image Manipulation Program), an opensource image editor with tools and capabilities to rival expensive commercial solutions. Clicking on the Gimp tile brings up this view:
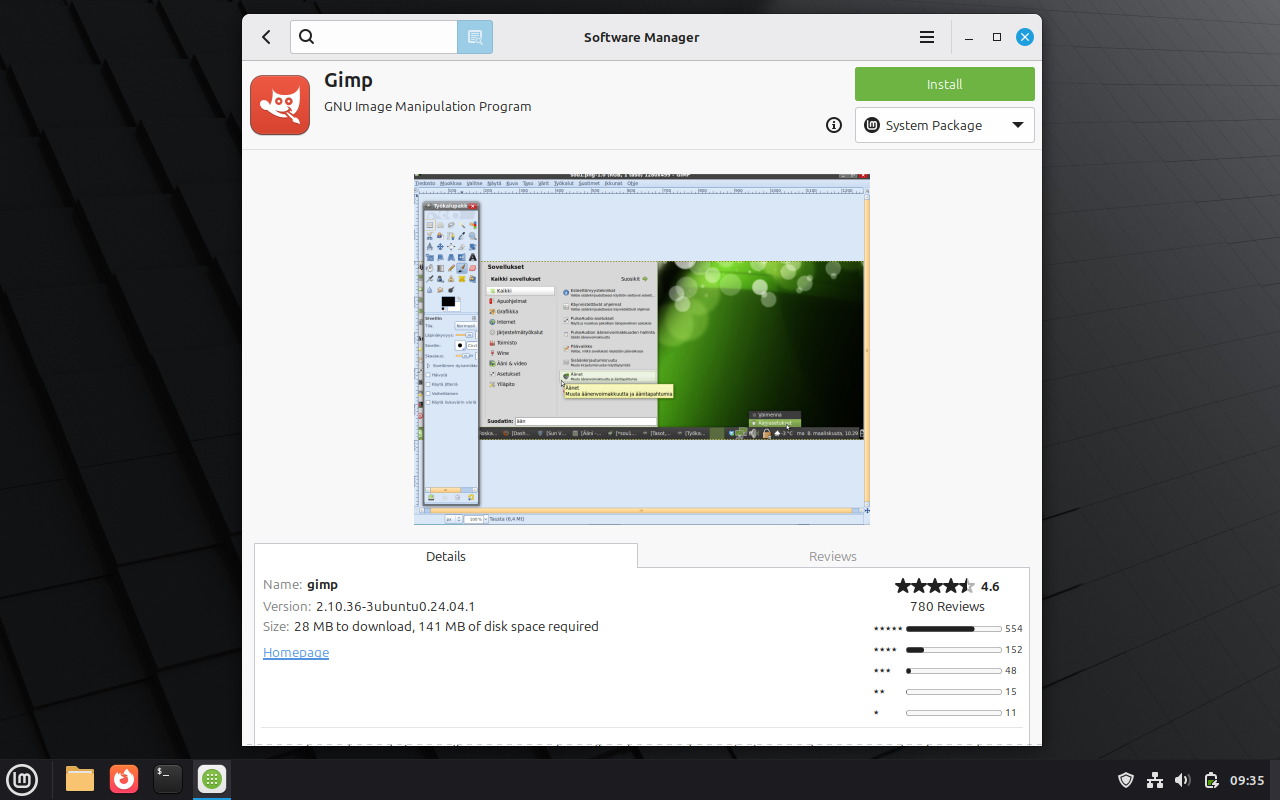
On this page you'll see screenshots of the program, details and review tabs (scroll down for more), and the installation button. For some programs, there is a selection drop-down below the install button that offers different installation options. In the case of Gimp on Linux Mint this offers two options:
- System package - this is a package installed via the APT solution, which is the backbone of application installation for Debian based Linux environments. This is a tried-and-true solution, but modern security theory suggests that this isn't ideal as the program runs "directly" in the operating system and may be able to interact with parts of the OS it really shouldn't.
- Flatpak - a newer solution that installs versions of the program that run in a defined sandbox, providing additional security safeguards. Some programs don't run quite as reliably this way, though that is rapidly changing.
Whichever you choose to install, you can then hit the "install" button, which will generally bring up a notification of additional software to be installed:
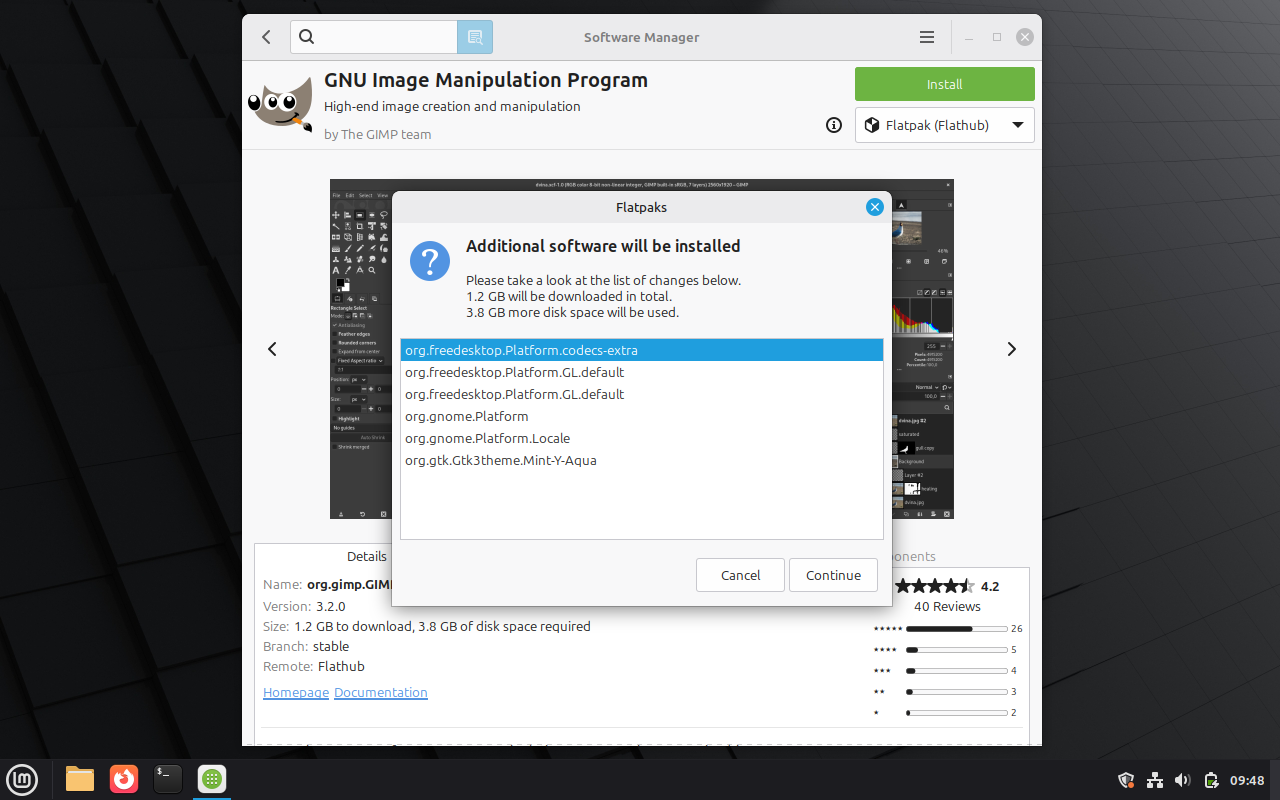
After hitting continue, if you've chosen a Flatpak install, the installation will begin. If you've chosen a System Package install you'll be prompted for your password.
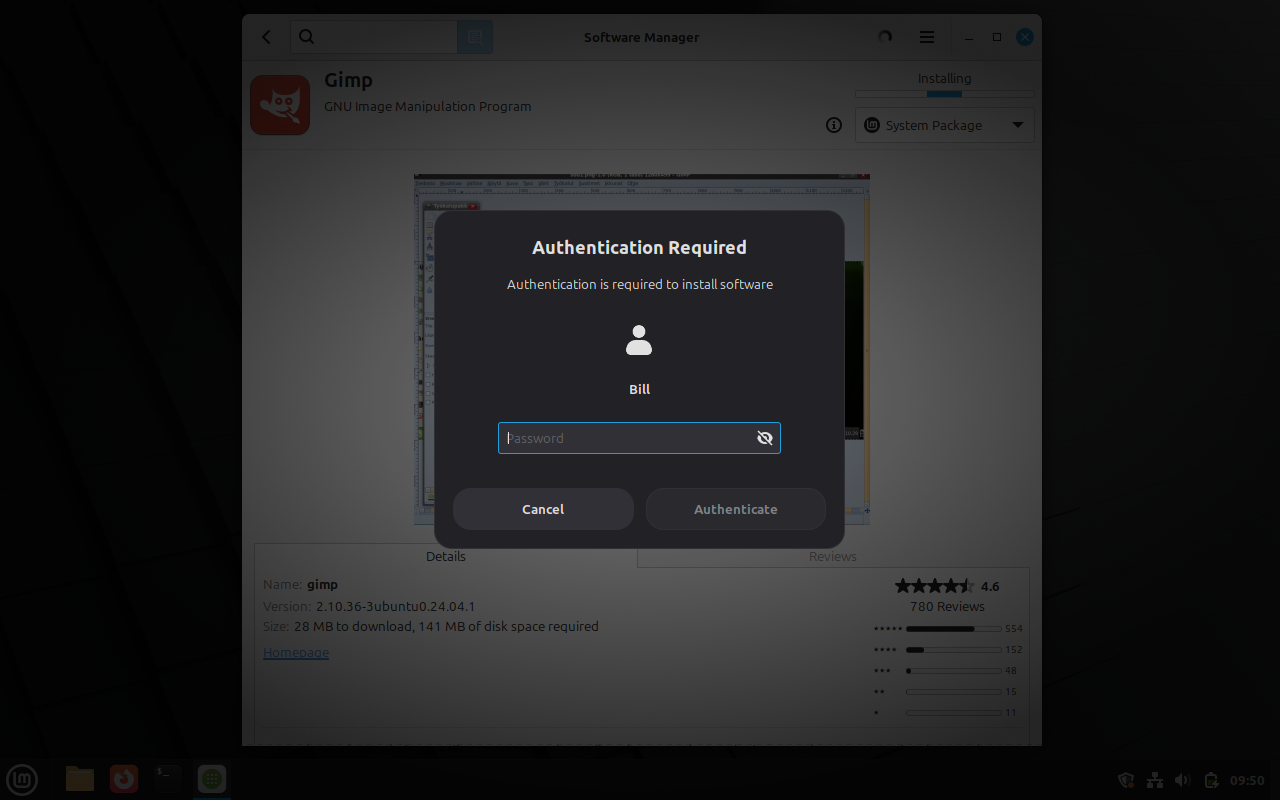
Either way, Gimp is now installing (or installed, depending on how long it took you to read this far) and can be found in your start menu shortly, ready for use.
Command Line Aptitude Installation
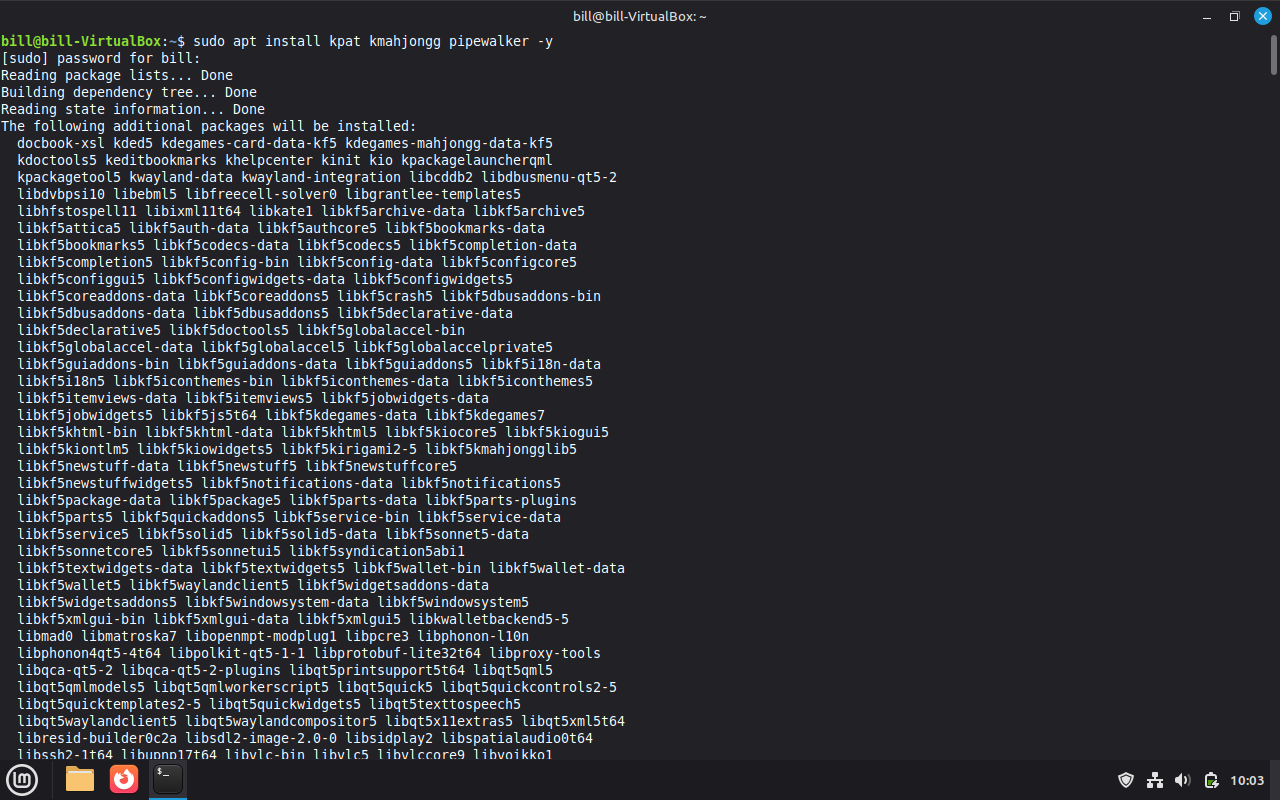
Lots of things in Linux are still really command-line focused. Aptitude (APT for short) is more efficient at installing groups of programs all at once than using the software manager, so long as you already know what you need to install. For example, the following command can install multiple games all at once much faster than searching and installing from the GUI:
sudo apt install kpat kmahjongg pipewalker -y
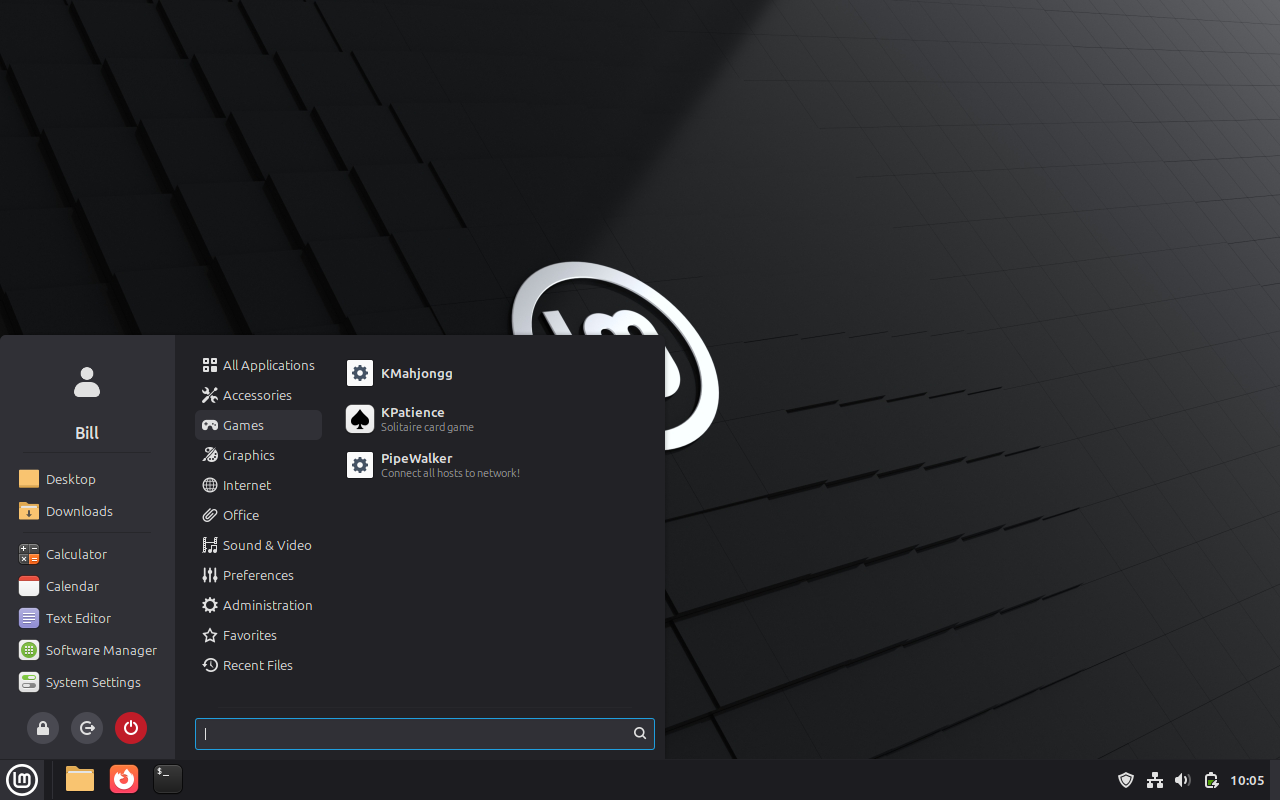
After a short while you'll be able to see 3 new games installed in your start menu:
Just like with the software manager, installing via APT will guarantee auto-updates of your software, which is a fundamental key for good security, and installing from the prebuilt list of available software generally means good compatibility and operation.
Installing FreeTube via APT
Yes, you can install FreeTube from the software manager as a Flatpak, but let's say that won't work for you for technical reasons. Well, it turns out that there isn't a predefined APT package for FreeTube. This is a common occurrence, as there are untold numbers of packages and software that are not in the software manager. So in this case we will be adding a new software repository to our APT system.
Searching for "FreeTube APT" will eventually get you to this GitHub page. Once there you'll see instructions to copy and paste the following:
wget -qO- https://ghaaapt.github.io/freetube-apt/freetube-archive-keyring.asc | gpg --dearmor | sudo tee /usr/share/keyrings/freetube-archive-keyring.gpg > /dev/null
echo 'deb [signed-by=/usr/share/keyrings/freetube-archive-keyring.gpg] https://ghaaapt.github.io/freetube-apt/ stable main' | sudo tee /etc/apt/sources.list.d/freetube.list
sudo apt update
sudo apt install freetube -y
So this is 4 separate commands that will result in both adding the repository and installing FreeTube. Let's dissect this:
Line 1 - wget command
This command is downloading and installing a fingerprinting key. This key is published so that we know that the files we download are legitimately signed by the people who claim to be providing the software. This cuts down on the ability to inject malicious code without our notice. The file is stored as a .gpg file in the usr/share/keyrings directory.
Line 2 - echo command
This command is being used to write information about the new repository to a file that APT will use when it looks for new software. This instruction lives in the etc/apt/sources.list.d directory.
Line 3 - apt update command
This tells the APT system to update its database of known software now that we've added a new repository. This command does two things, it inventories the software available at the new repository as well as updating version information about all software available, useful for then running the apt upgrade command, that actually upgrades all APT installed software to the latest versions.
Line 4 - apt install command
Finally we tell the system to actually install FreeTube for us. after that completes we can find FreeTube installed in our start menu.

.deb Package Installation
Third on our list is the installation of a .deb package file. Installing from these files works, but it lacks the auto-update capabilities that we find with the software manager, APT, and Flatpak solutions discussed earlier. (Sorry, Flatpaks can be installed from the command line as well, but frankly I'm skipping that for this tutorial for the sake of variety) That means that updates are your responsibility to handle.
Installing Zoom from .deb
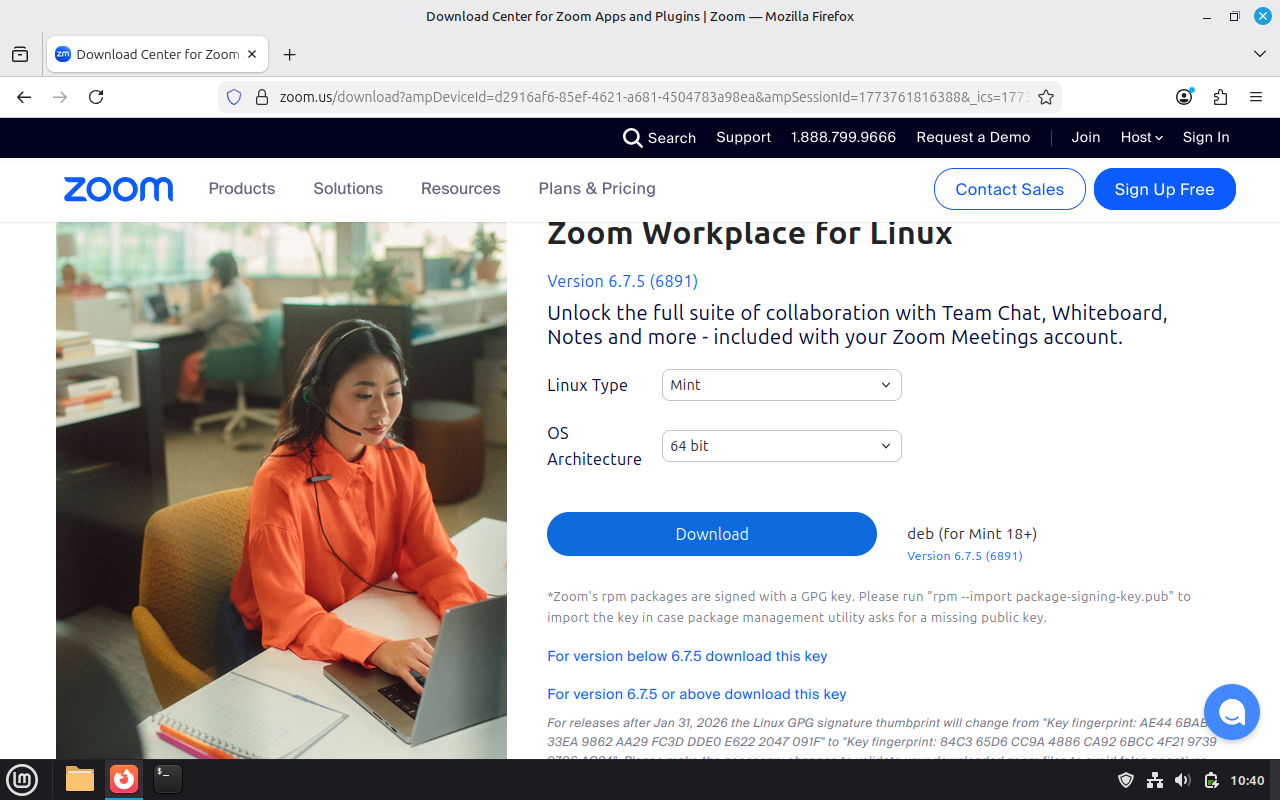
I chose Zoom as an example because it does not offer any official APT or Flatpak support, though it does inform users when they need to update to the latest version. Going to the Zoom website and choosing the "download Zoom Workplace" link from the page's footer you'll eventually arrive here.
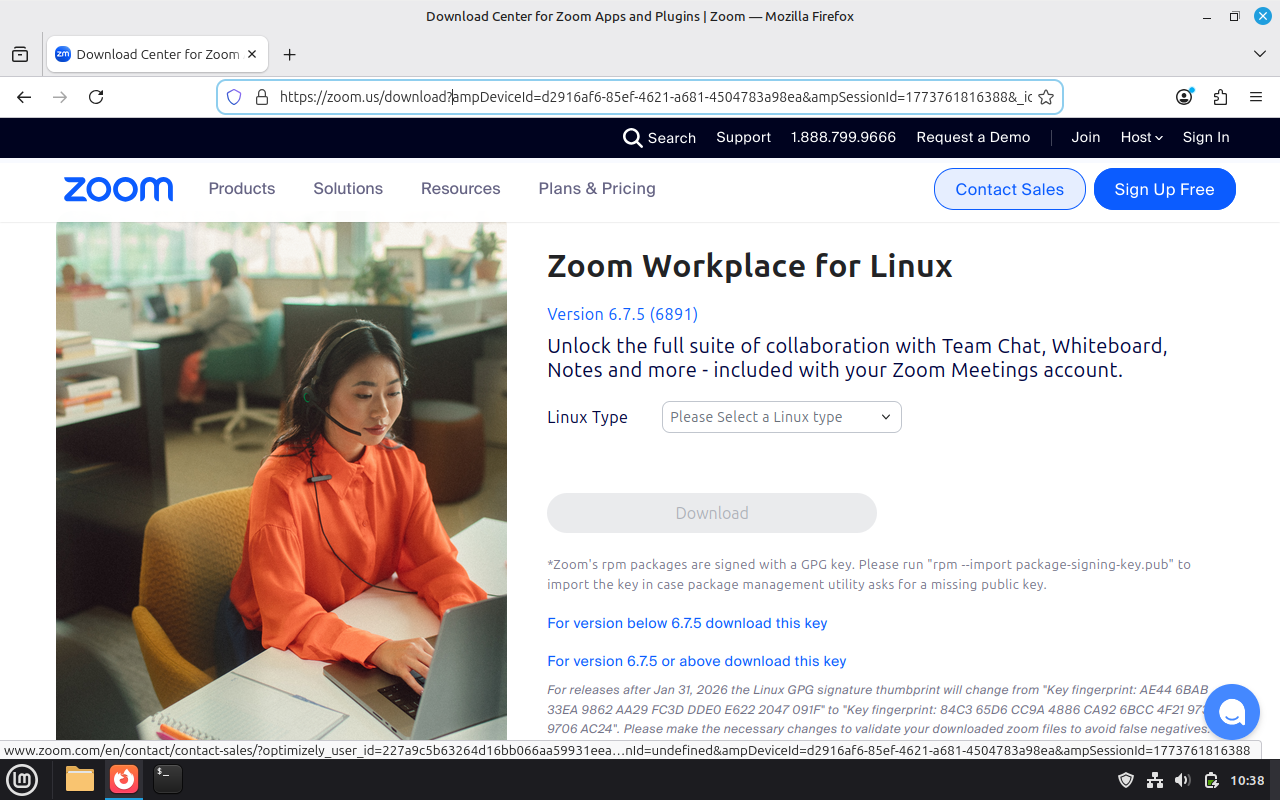
From here you'll encounter two drop-downs, the first where we pick our flavor of Linux (Mint, in our case) and the second asks what architecture we're installing on (generally 64-bit) from which a "download" button will appear.
Downloading the file results in "zoom_amd64.deb" being downloaded to our "Downloads" directory. Kinda handy that way. Opening the folder and double-clicking on the file gets us here:
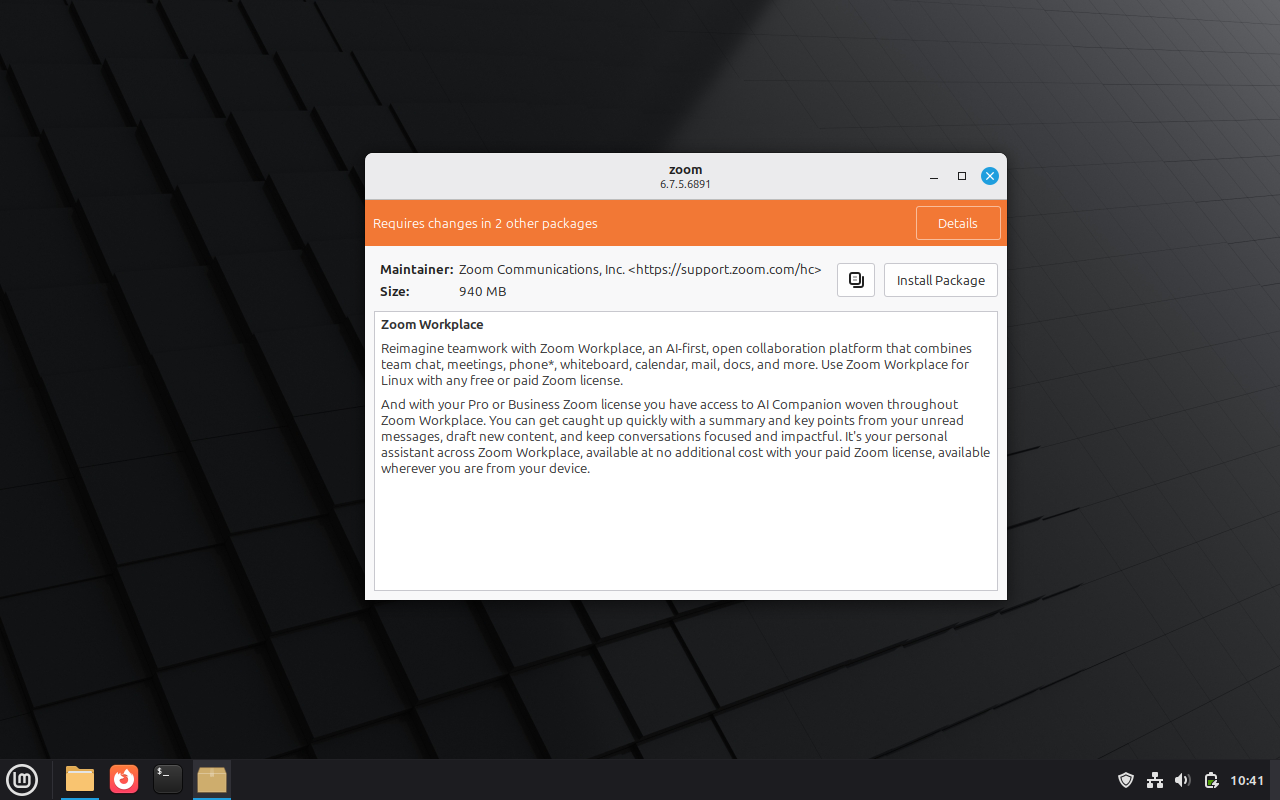
Lots of info here, and we can investigate all of it, but eventually we're likely to hit the "install package" button, after which we'll be prompted to enter our admin password. We may get an additional pop-up informing us of additional software to be installed. We can cancel at this point or continue, but since we want this installed we'll continue.
After a short while the installation will complete and we'll be greeted with this screen:
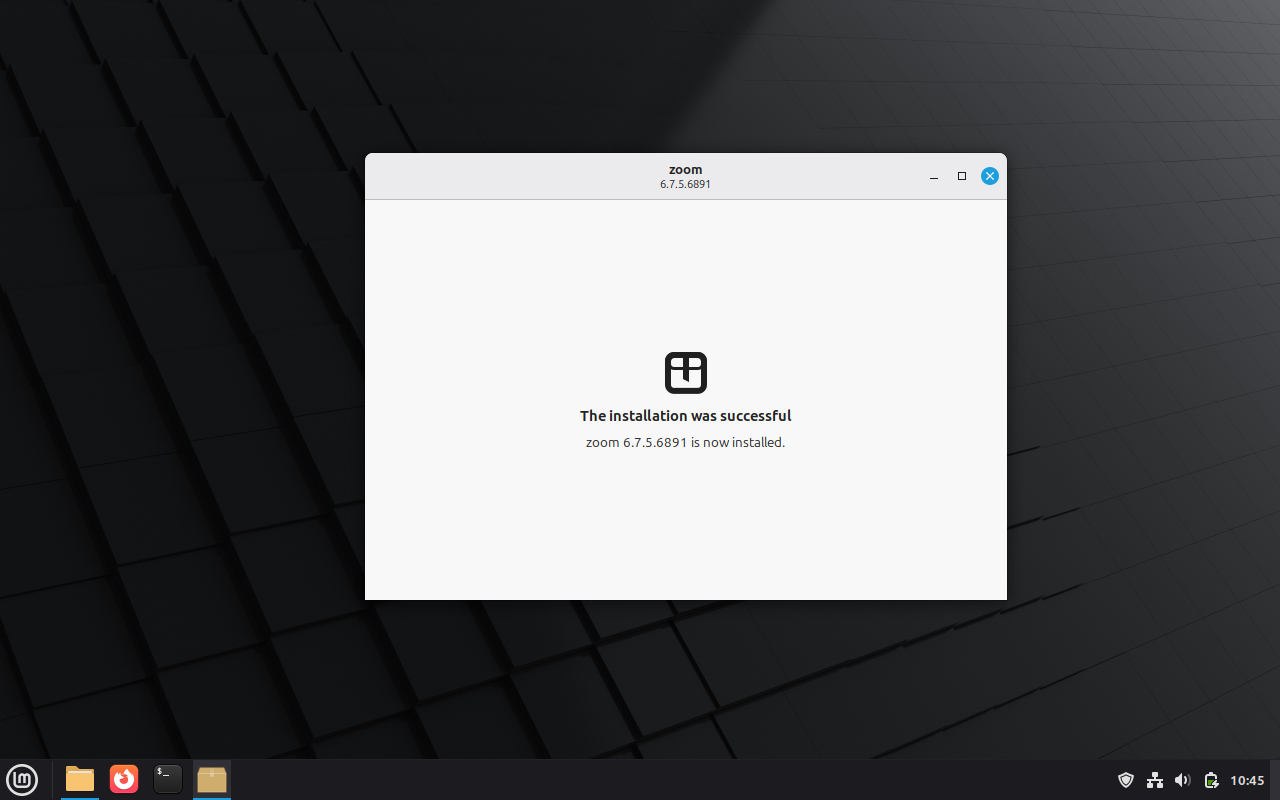
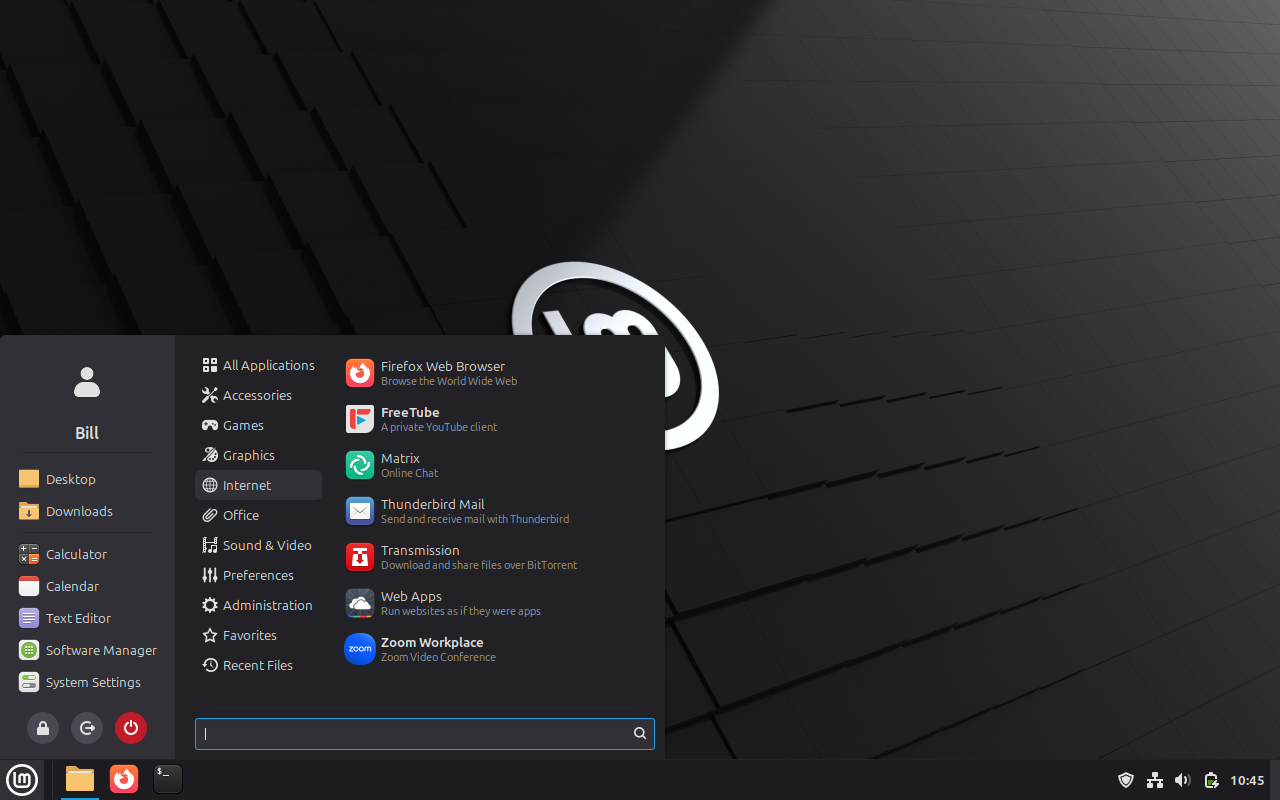
After seeing this we should be able to find Zoom in our start menu.
Installing an AppImage File
I don't really appreciate AppImages in Linux. On the plus side they're self-contained applications that are easily portable, but on the downside that means they're bigger than they need to be, don't auto-update in any way, and require a 3rd party app to act as a manager for them unless you're interested in doing all the basic work yourself.
However, there are some software solutions only available as these AppImage downloads, so we had better be ready for them.
Installing the Raspberry Pi Imager AppImage
Many of us Linux enthusiasts are also Raspberry Pi enthusiasts. It happens that the utility for ensuring you've downloaded the appropriate OS to your Raspberry Pi's drive is an AppImage file.
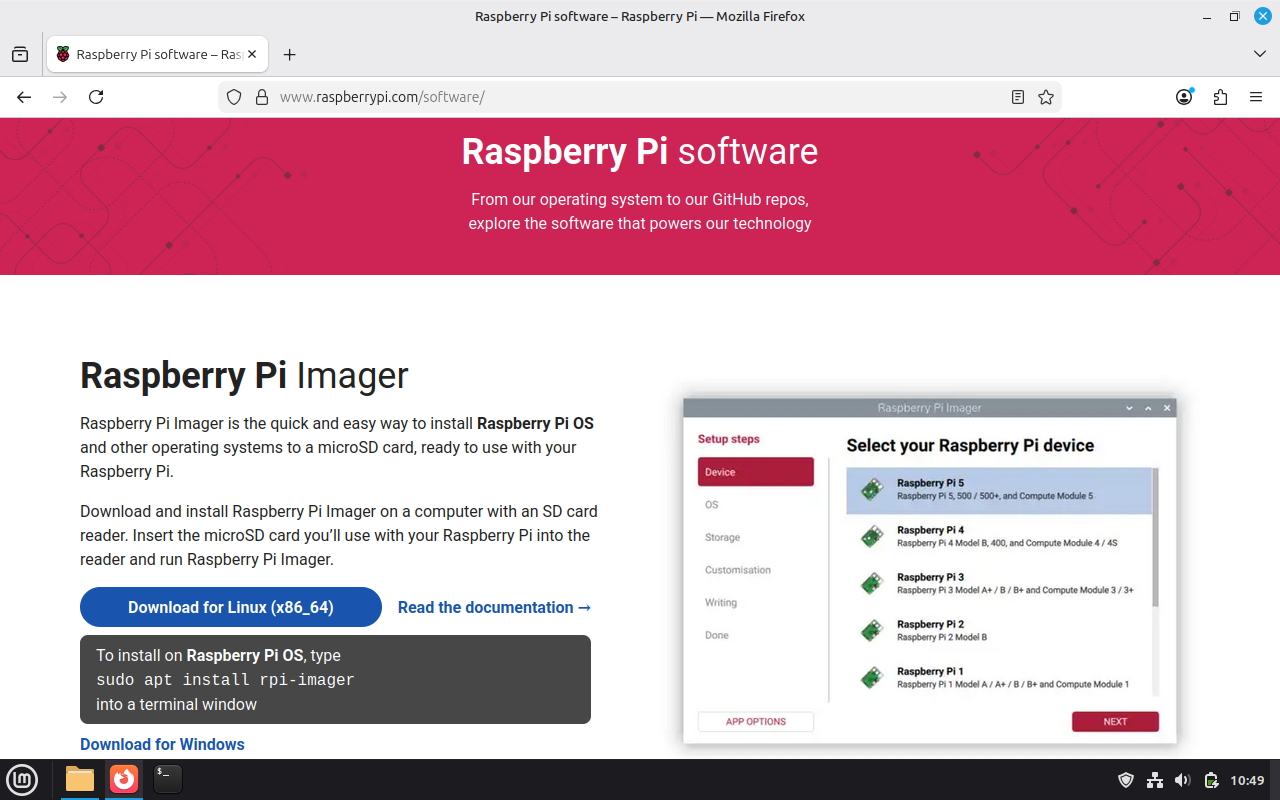
If we hit the download button we'll have a file in our Downloads directory that we can work with. However, I'm going to recommend that we do the next few steps from the command line in our home directory.
cd ~ making sure we're in our home directory
mkdir Apps creates an "Apps" directory were we can move our .AppImage files to
mv Downloads/imager_<version>_amd64.AppImage ~/Apps/ moves the .AppImage file from Downloads to our new Apps folder - replace <version> with the actual version number in the filename
chmod +x Apps/imager_<version>_amd64.AppImage by default the downloaded file is not executable in Linux, this command makes it an exectuable
Unfortunately this hasn't put the program into our start menu so we have the option to run it from the command line ./Apps/imager_<version>_amd64.AppImage or we can add it to our menu.
Start by right clicking on the start menu icon and choose "edit menu." That will bring up a window like this:
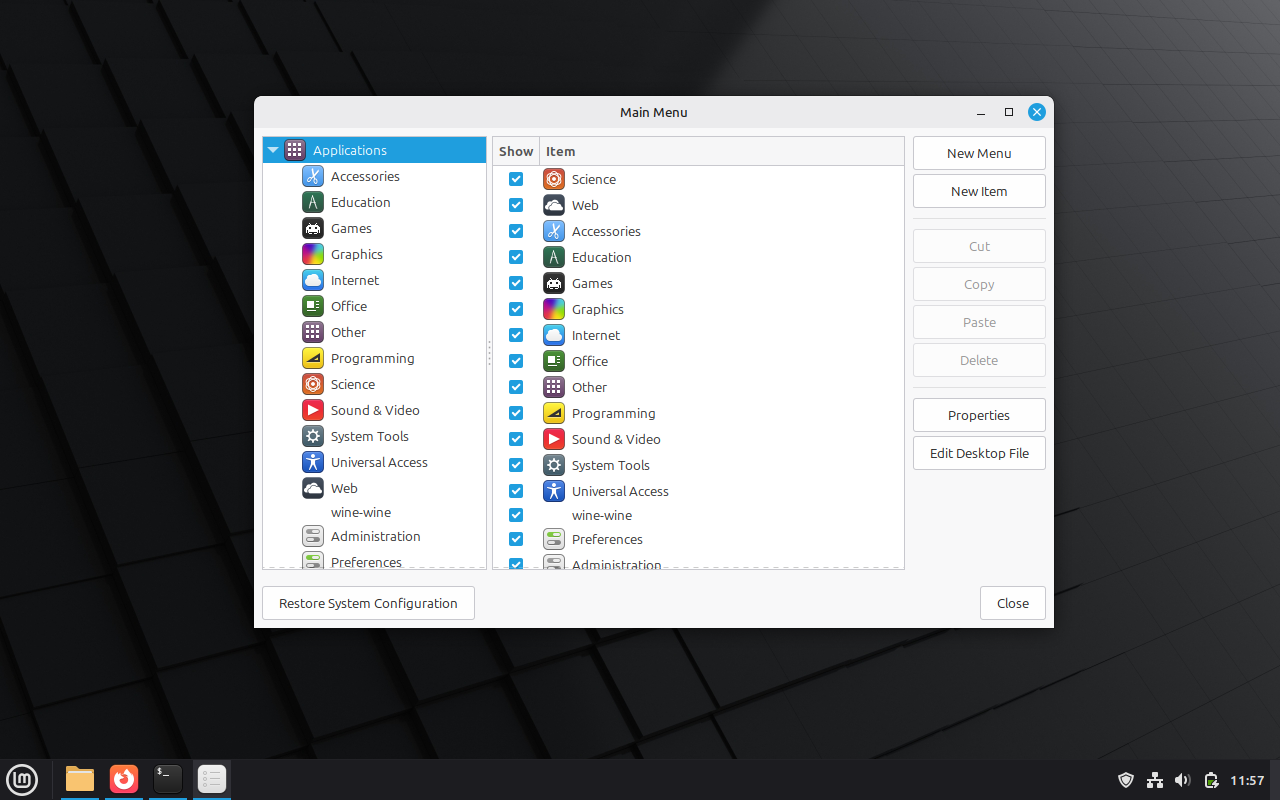
Choose a sub-menu to put the launcher into, I recommend "Accessories" and then hit the "new item" button and you'll bring up the launcher properties window. Enter a name for the app and then use the "browse" button to find the app in your "Apps" folder. Hit the "OK" button and close the menu editor.
Now you can find your app in the Accessories submenu of the start menu:
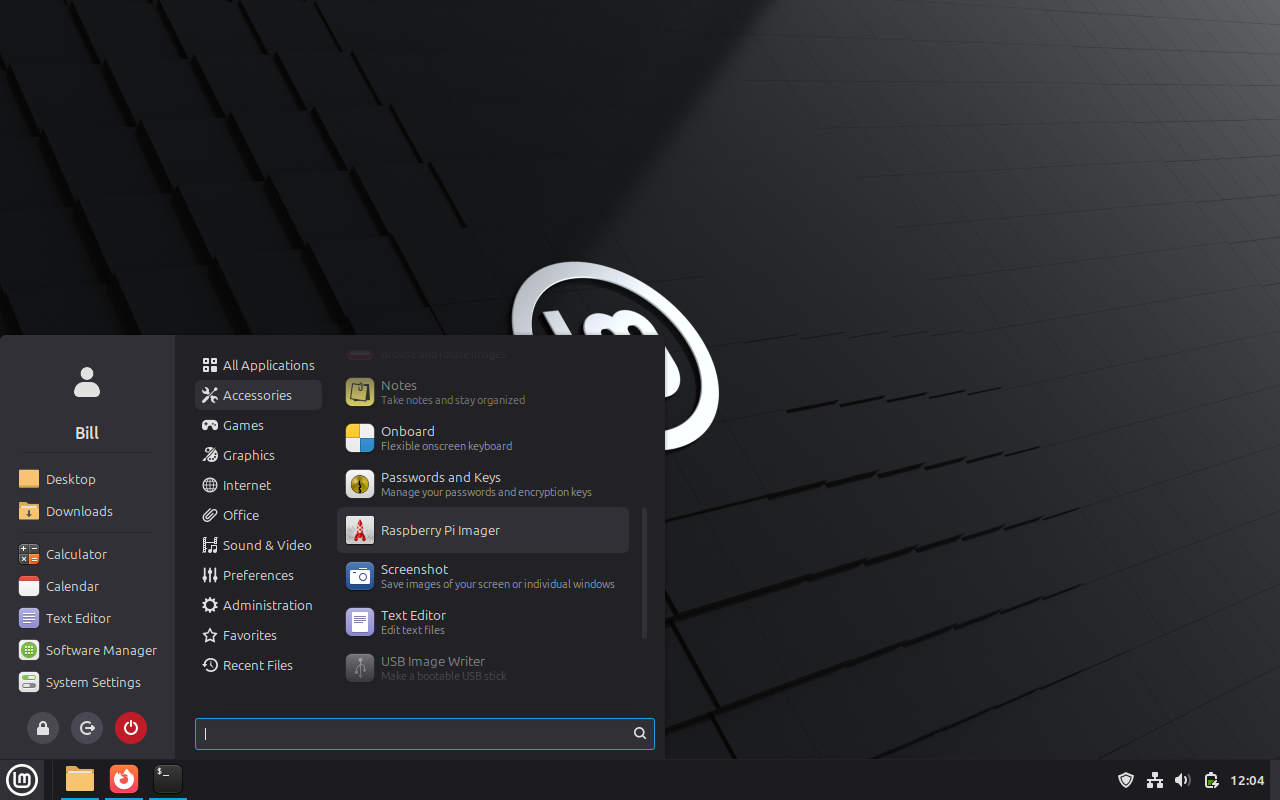
The app is now available through your start menu.
Advanced Installation Methods
There are a wide variety of other options for installing Linux apps. Sometimes you'll be asked to compile the app from source code. Sometimes you'll simply download a directory structure from GitHub. The permutations are nearly endless. As you grow your Linux capabilities these may become part of your world.
Regardless of how you install your Linux software, keep these ideas in mind:
- Start with the software manager, APT, and Flatpack/Snap repositories your computer already knows about. These are the apps that are most likely to run well, be safe, and get auto-updated to keep them secure and functional.
- Expand to 3rd party APT, Flatpack, and Snap repositories for those solutions you need to if they can't be found in those first resources.
- Migrate to other install options when necessary. Try to stick to reputable software sources, such as the commercial companies that make the software - such as in our Zoom example.
- Remember that Linux software isn't impervious to malware, and that the most common means of exploitation is in compromised application installs. To that end, Flatpacks and AppImages are your safest option from sources you don't know well.