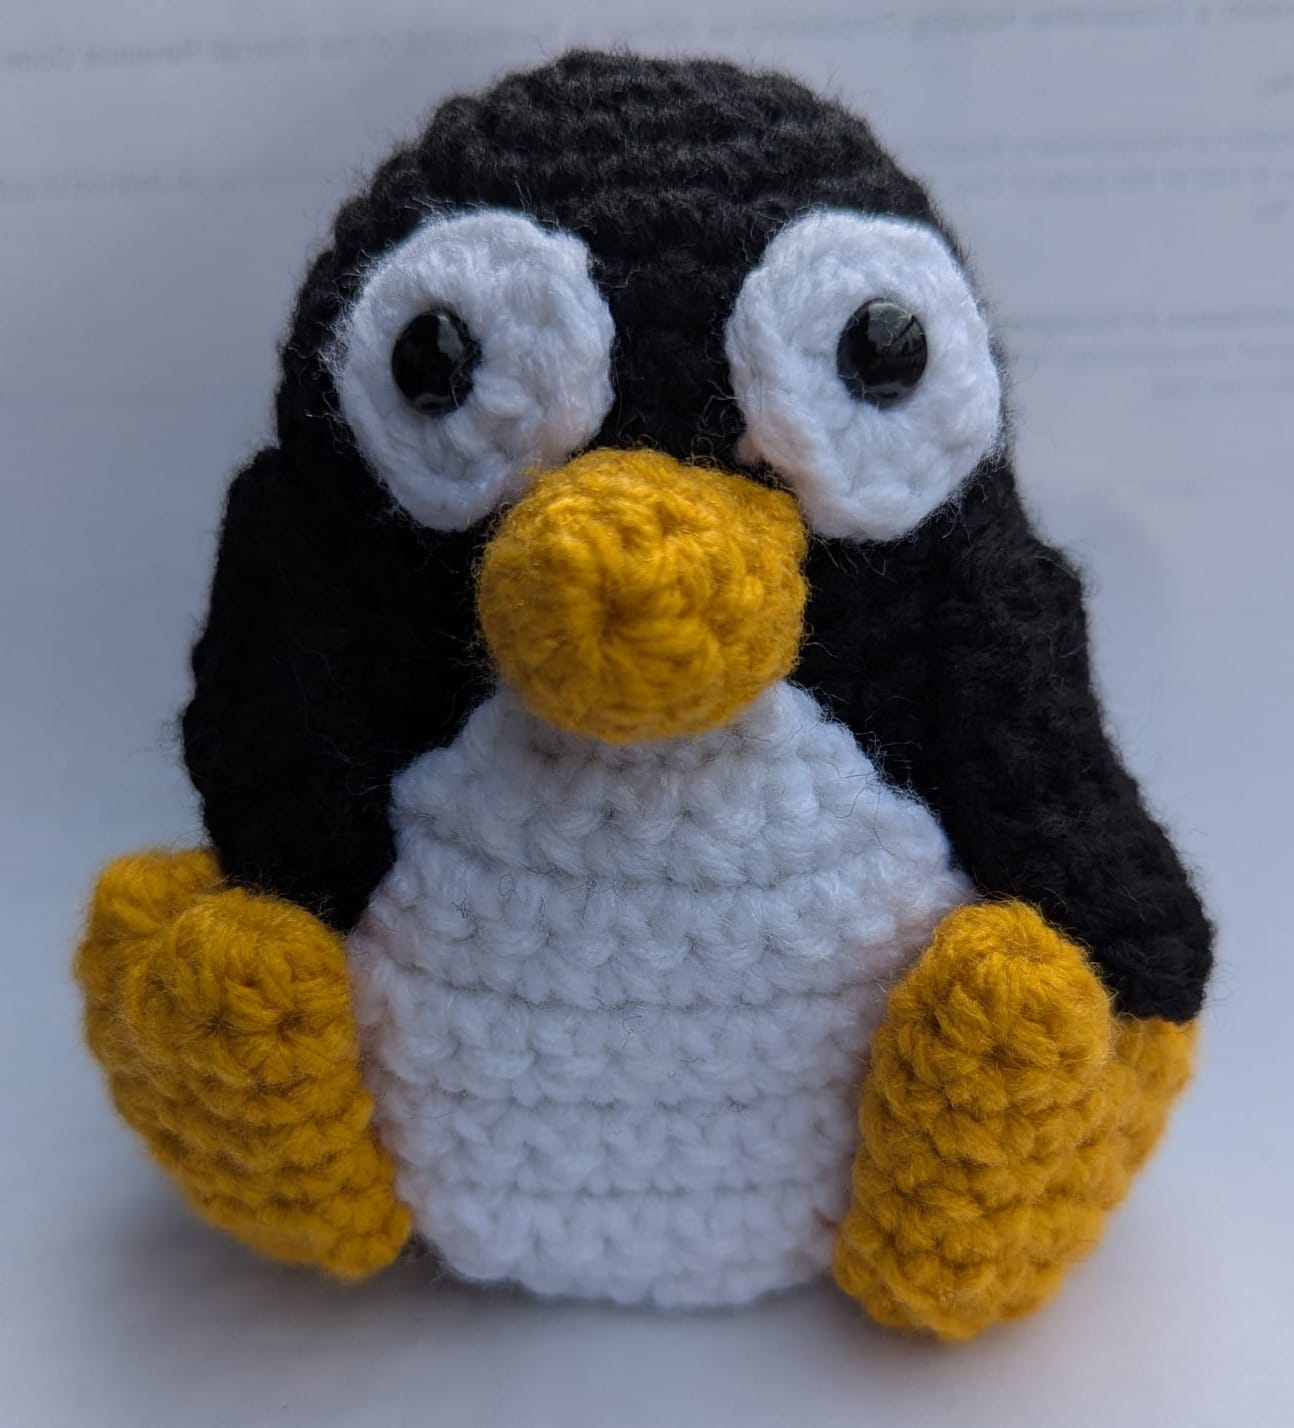
Tux Junior Crochet Instructions
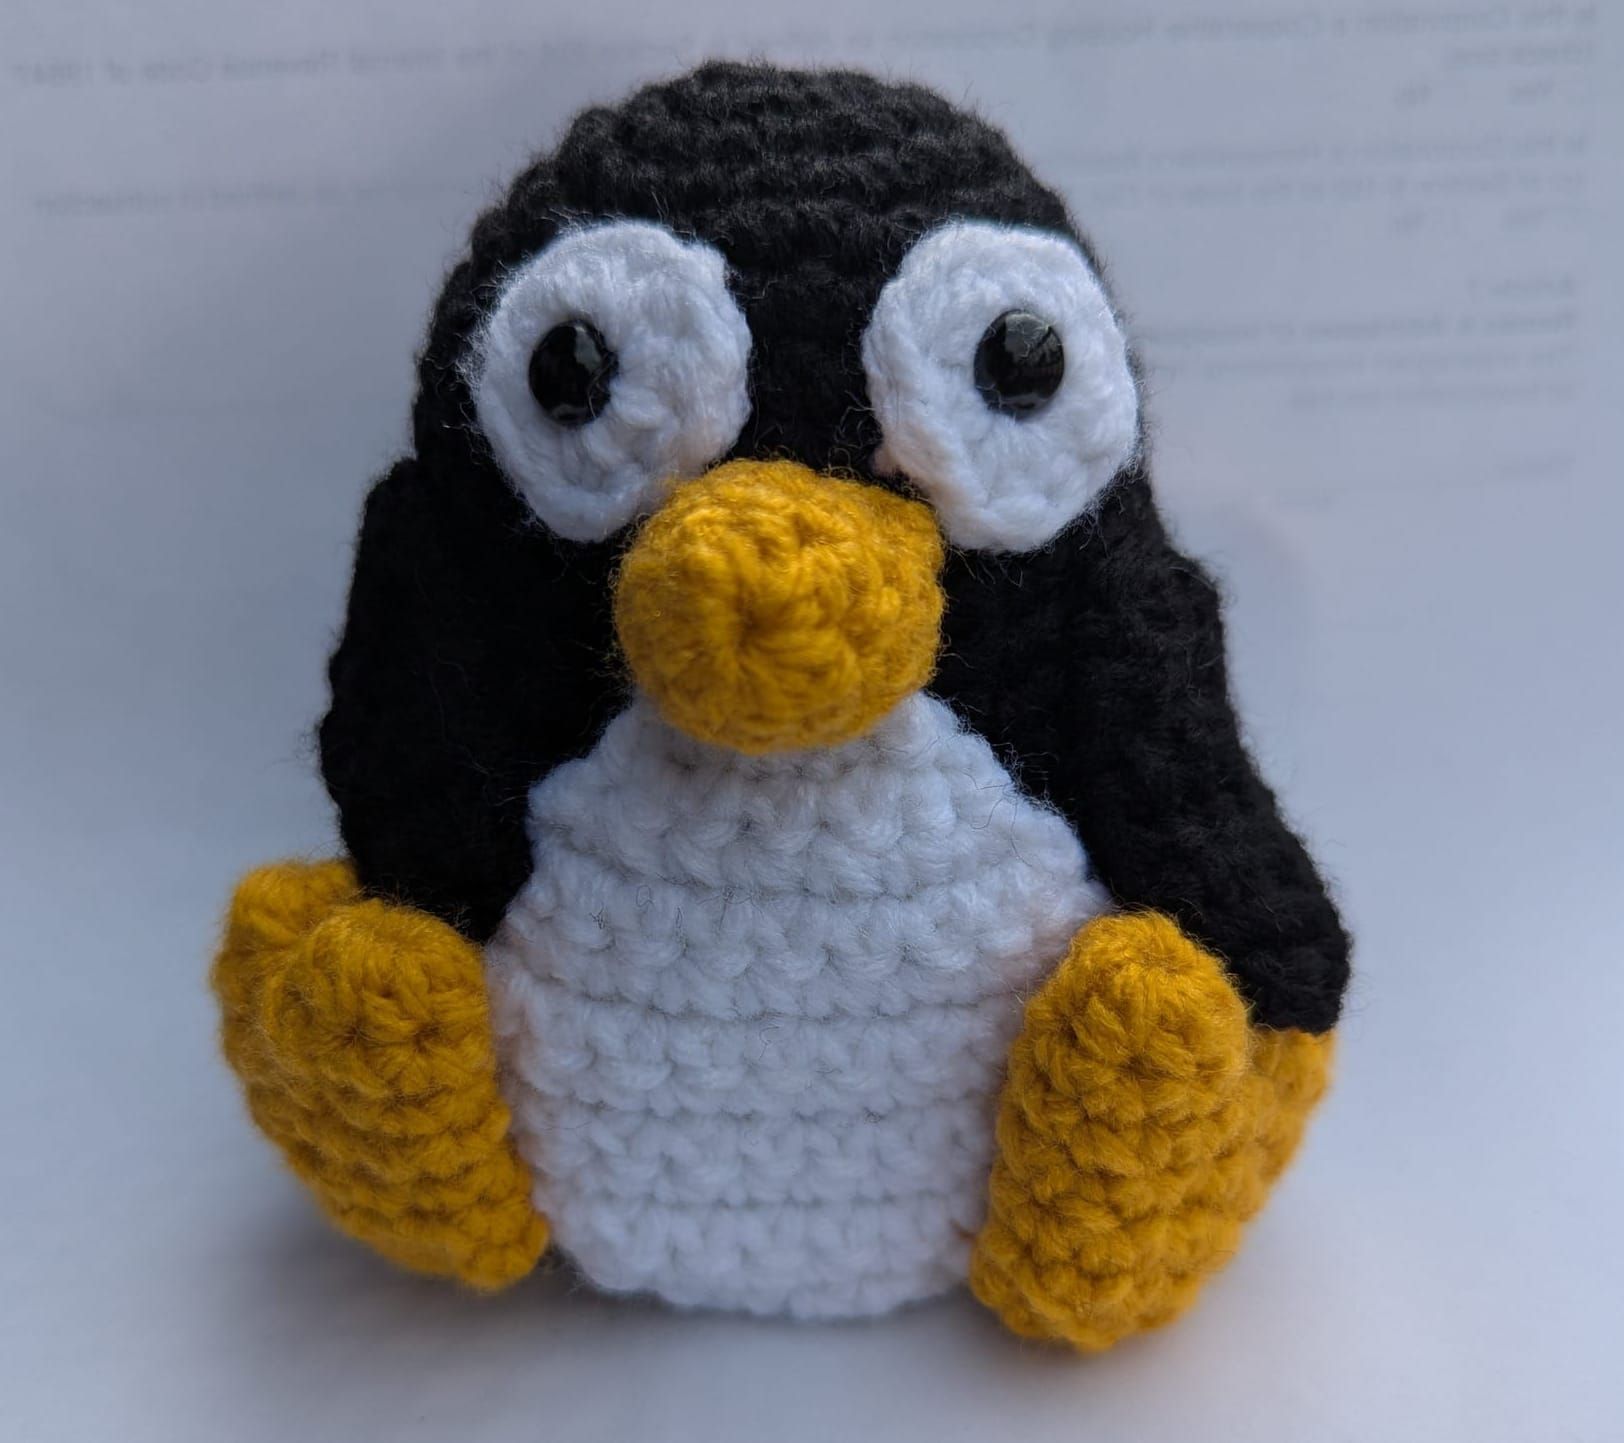
(Written by Mrs. Bernard, the artist herself)
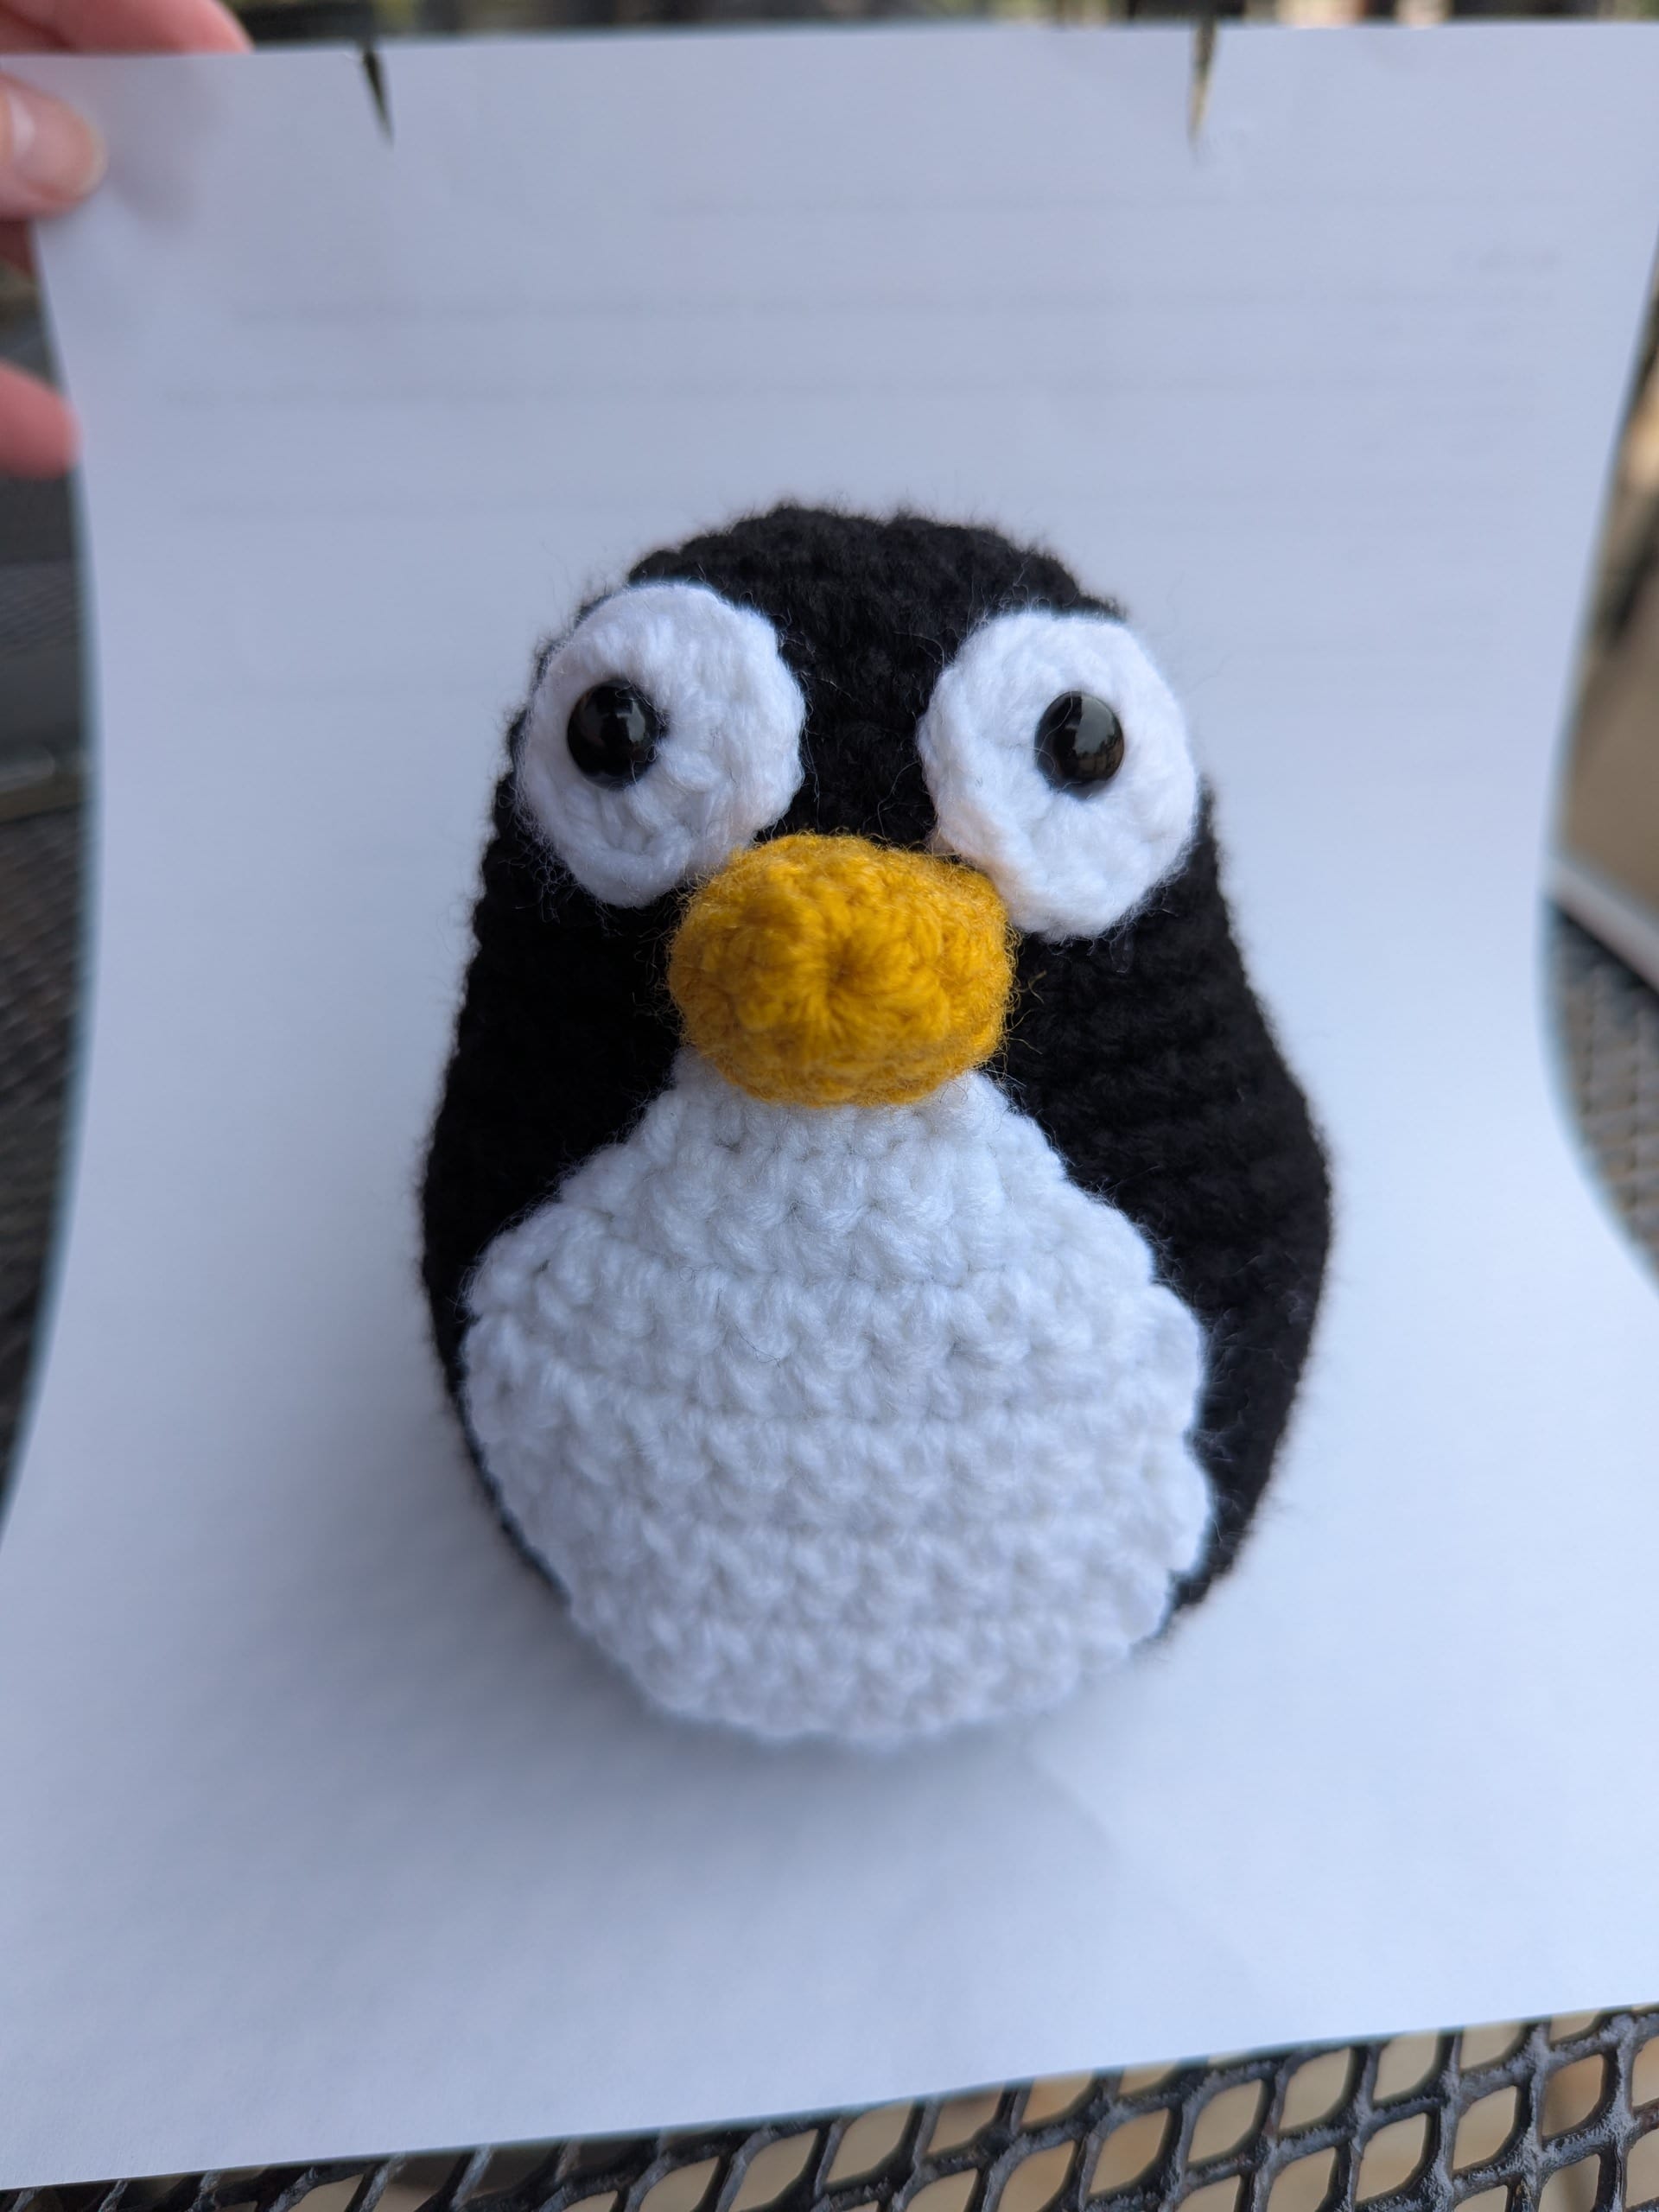
As many of you know, my husband is an advocate for information security and Linux is a part of many open software options available to the public. He and has converted many members of our families from invasive software (such as Windows) towards secure open software (such as Linux). Part of his advocacy is hosting Linux Village workshops where he educates others on what Linux can do and helps install the software on their personal laptops. He asked me to make several of these Tuxes (the unofficial Linux mascot) to give to volunteers and to attendees to promote Linux awareness.
I found this wonderful Tux pattern by StringyDingDing Ravelry or on her website:
 StringyDingDing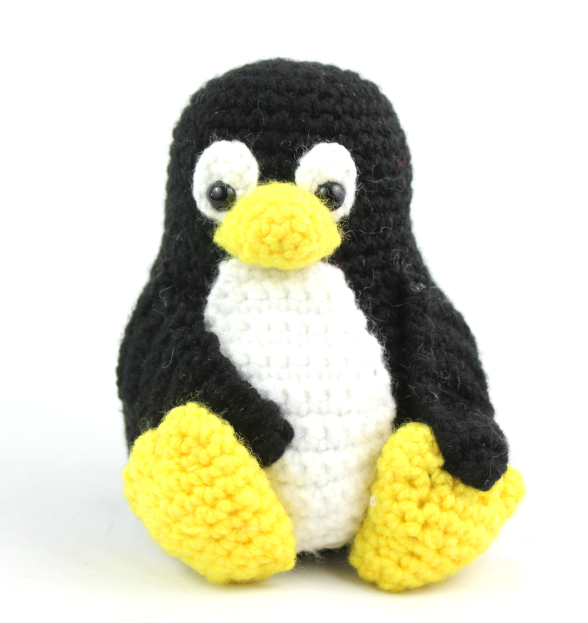
StringyDingDing's Tux pattern
I used worsted weight yarn for her pattern and Tux was about 7 inches tall. I wanted to make a little smaller version, so I’ve modified her pattern with her approval. My Tux Junior is about 4.5 inches tall.
In the spirit of open software, this pattern will always be free. You can find it on Ravelry here. You may sell any finished product you’ve personally made but you may NOT resell, repost, or take credit for this pattern. The same applies to StringDingDing’s original Tux pattern. (Linking to either is, of course, encouraged!)
Supplies:
- Worsted weight yarn in black, white, and gold/yellow
- Crochet hook size F (3.75mm)
- Safety eyes 8mm
- polyfil
- darning needle and scissors
- Optional: stitch marker, poly beads/pellets
Stitch Abbreviations:
| sc - single crochet | slst - slip stitch | decr - decrease |
| hdc - half double crochet | incr - increase | ch - chain |
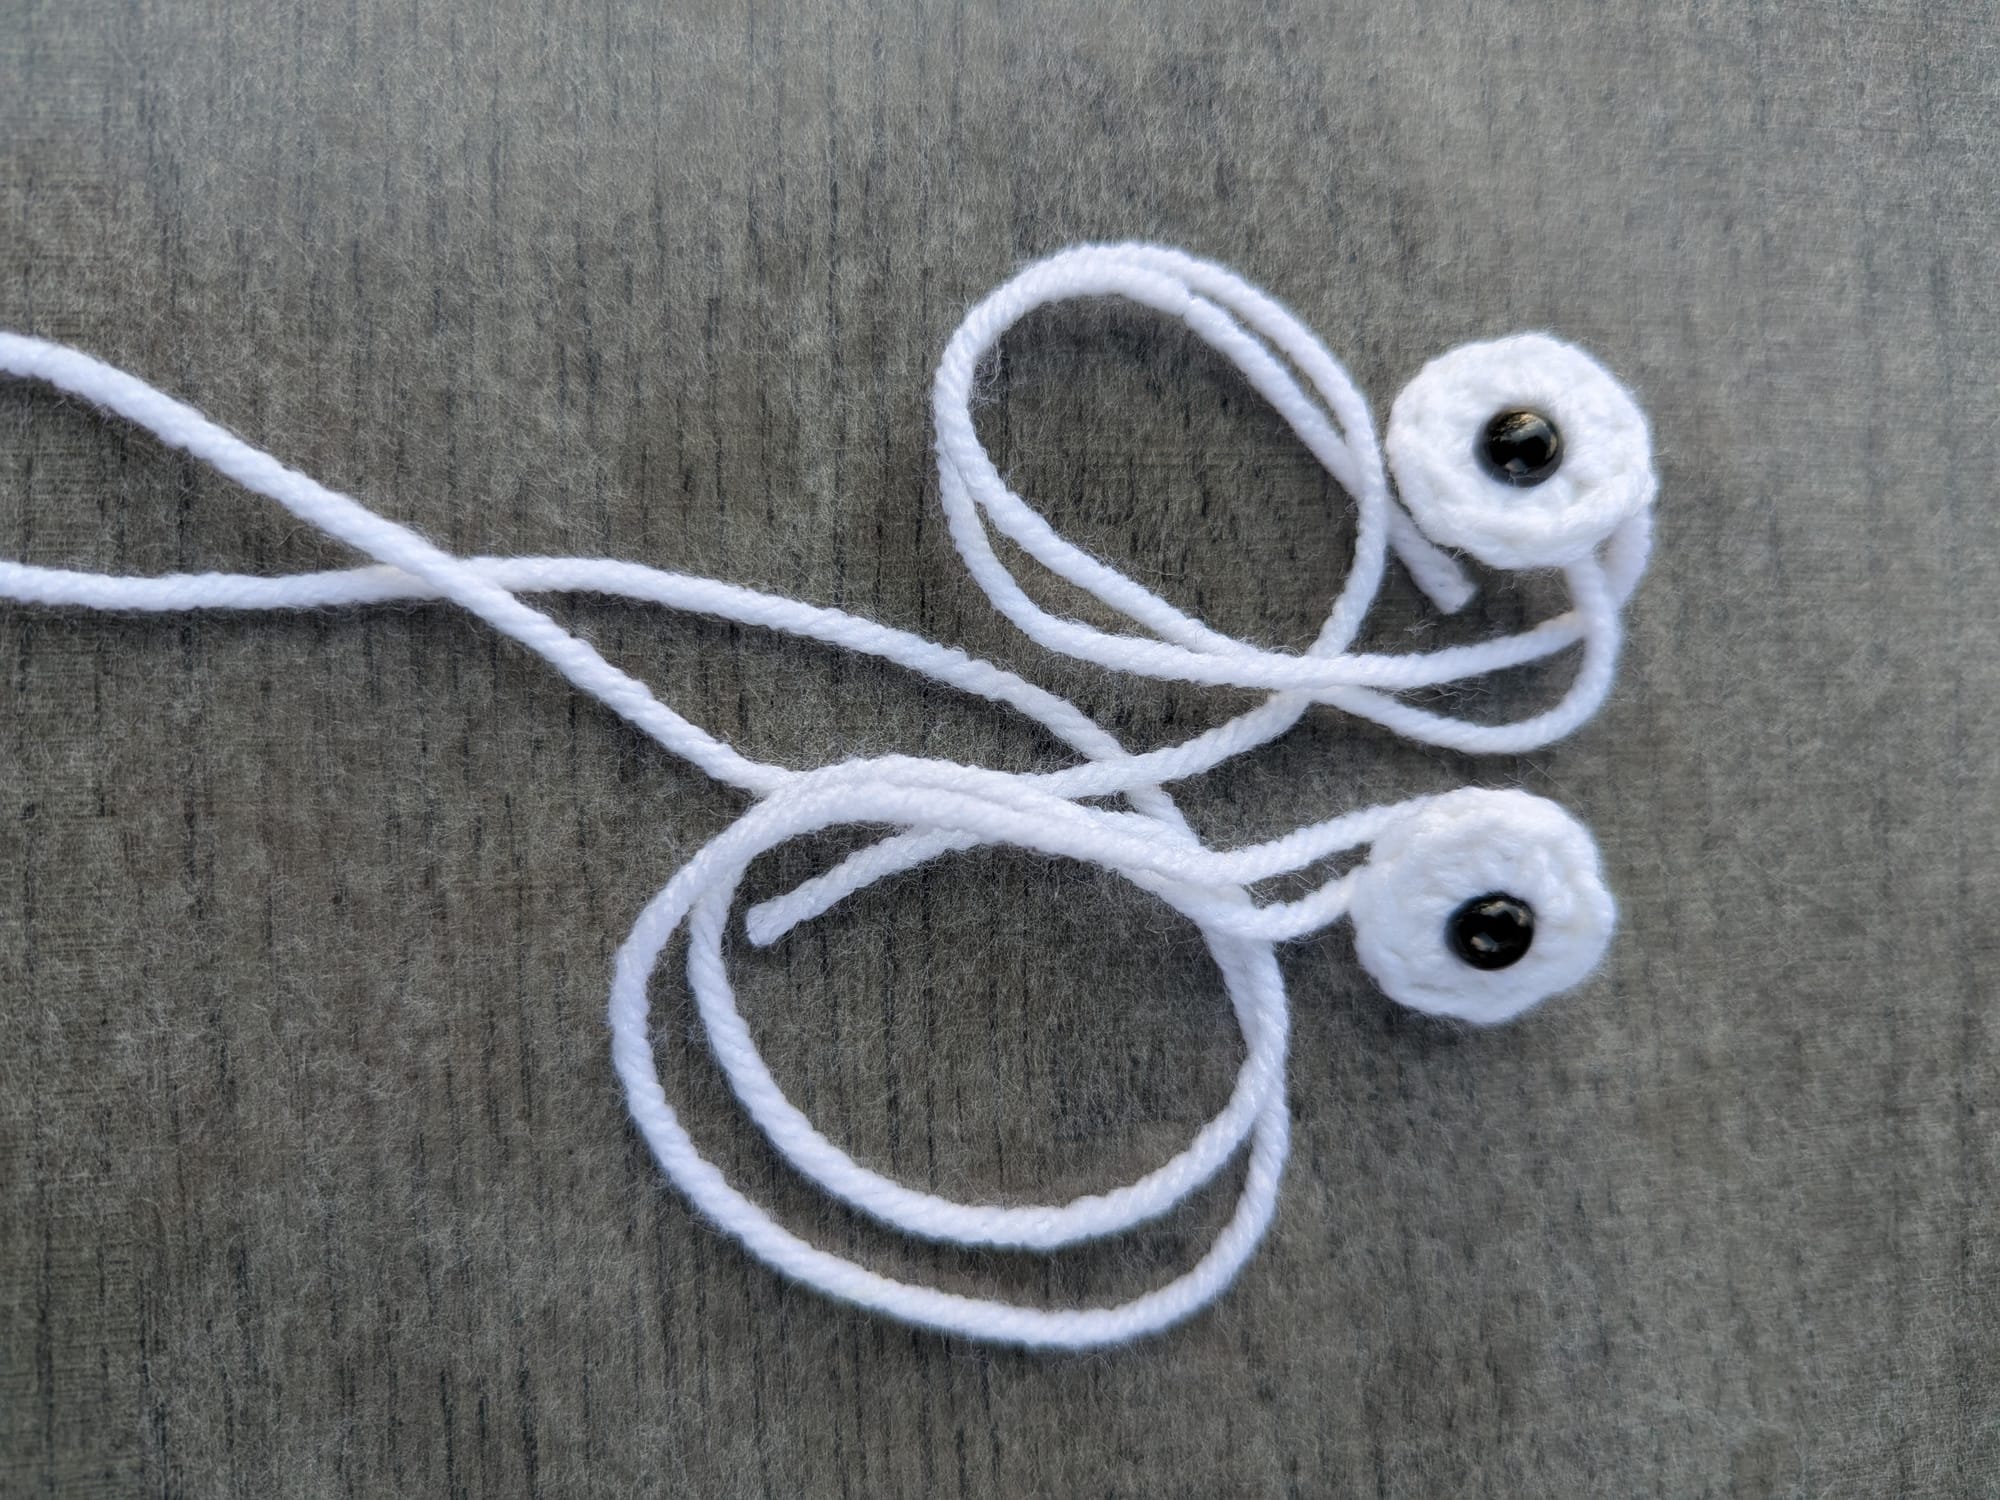
Eyes: (Make 2)
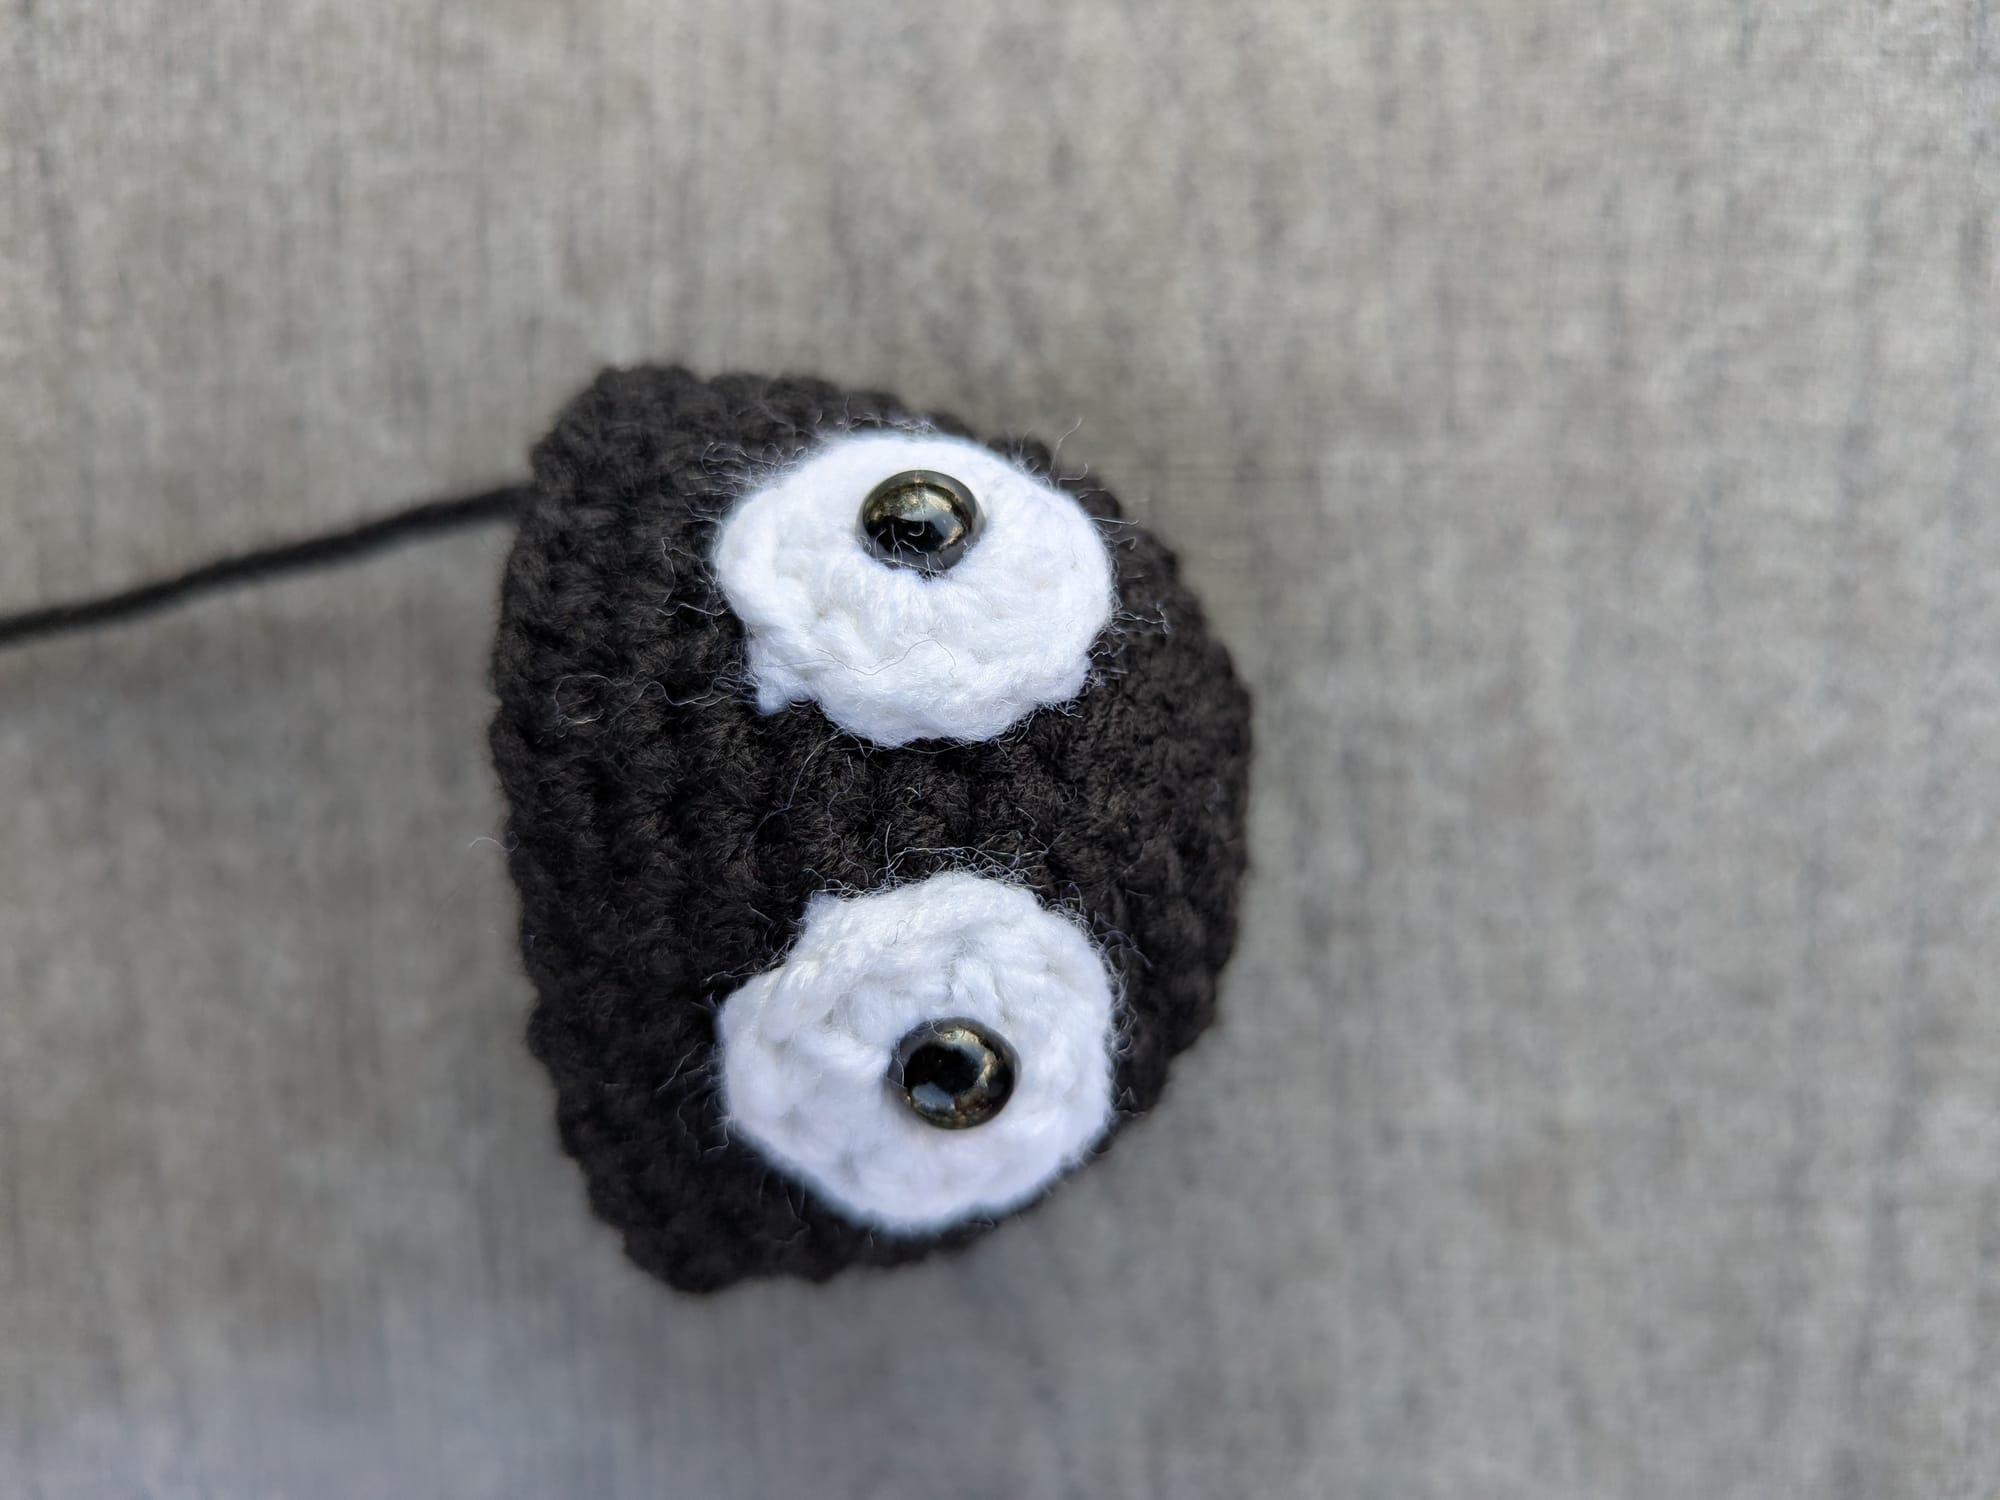
Round 1: With white yarn, 6 hdc in magic ring (6). slst with the first stitch. Leave a long tail and cut yarn. Close magic ring leaving a small gap. Insert and close safety eye. Set aside.
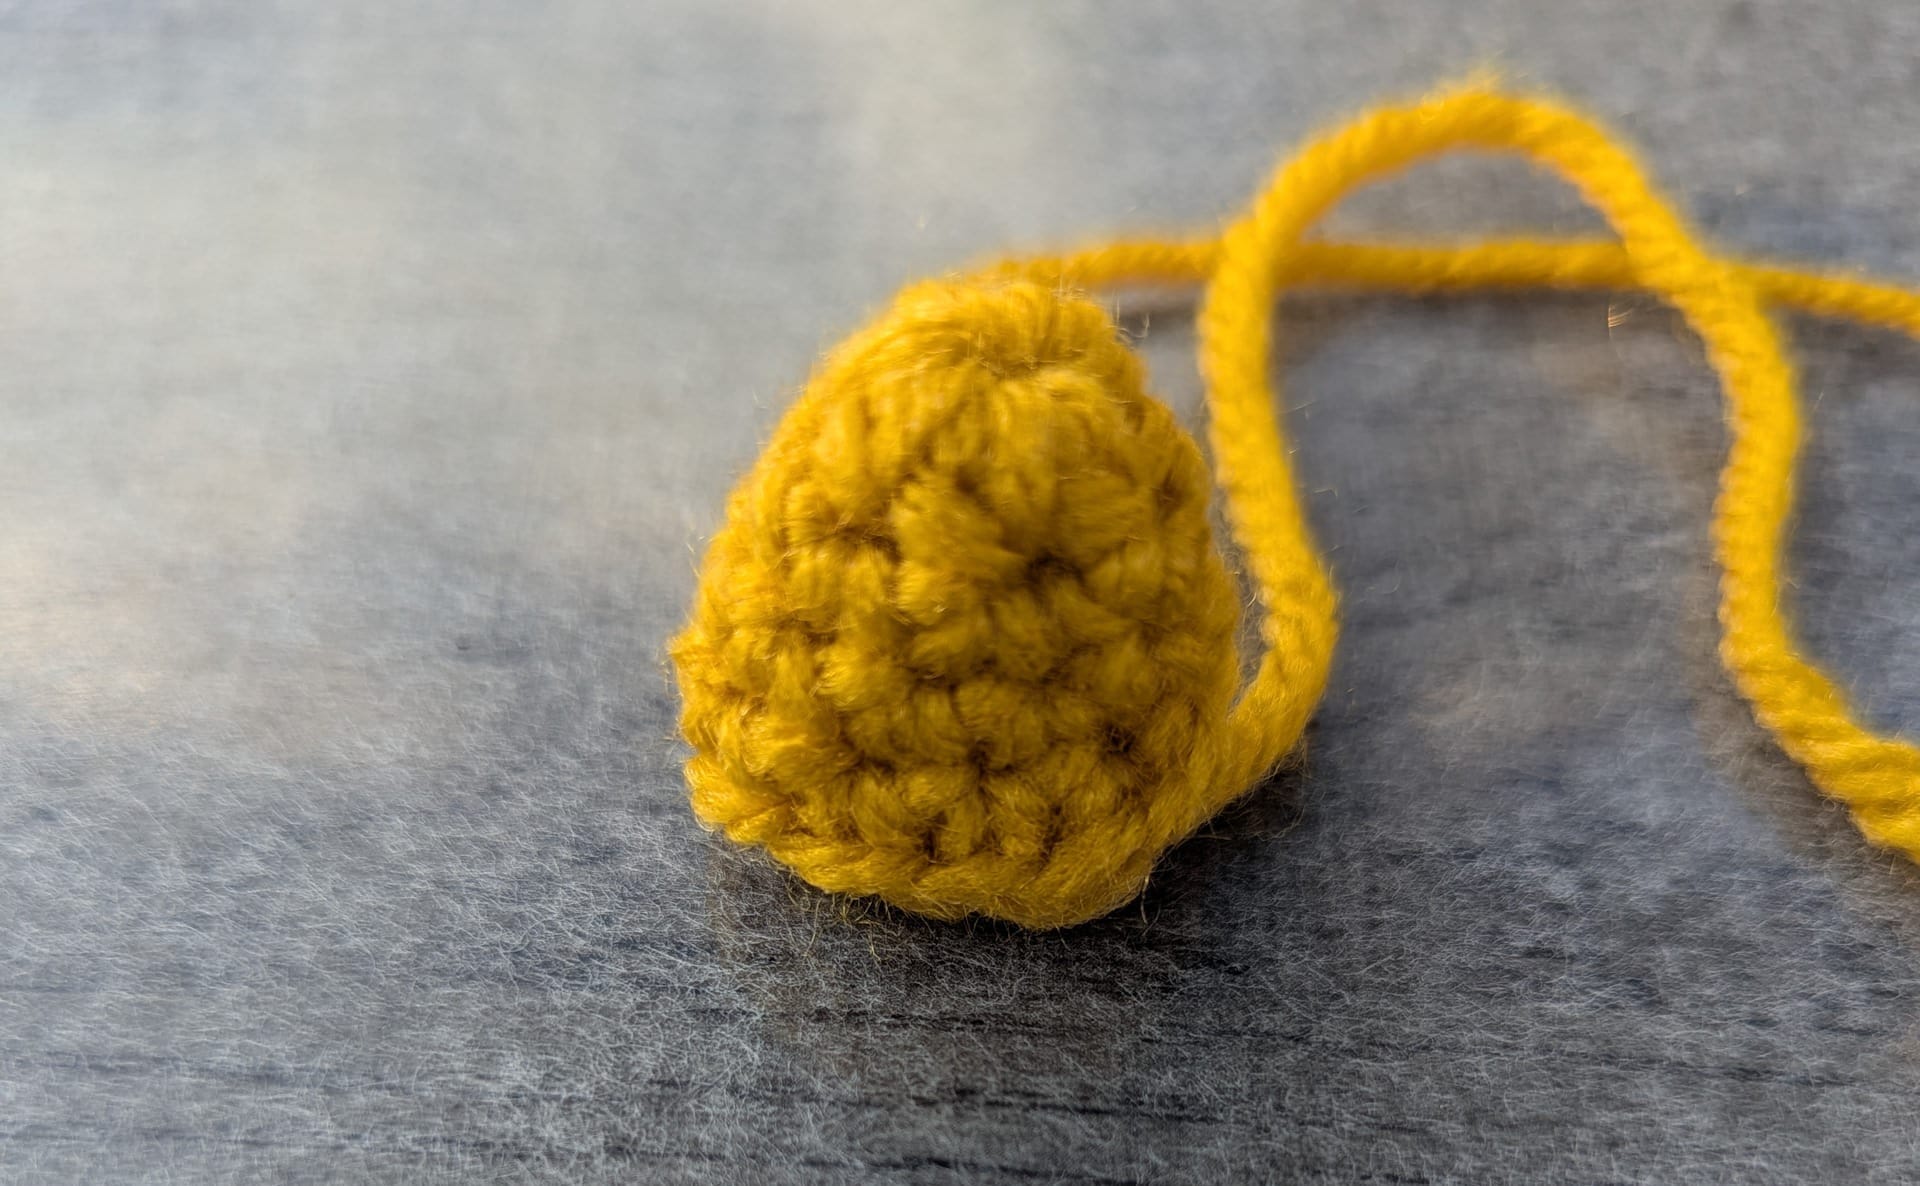
Bill: (Make 1)
Round 1: With gold yarn, leave a long tail and 6 hdc in magic ring (6). Close magic ring.
Rounds 2-4: 6 sc (6). slst with the first stitch. Leave a long tail and cut yarn. Set aside.
Head and Body: (Make 1)
Round 1: With black yarn, 6 sc in magic ring (6). Close magic ring.
Round 2: Incr in each stitch (12).
Round 3: [Incr, sc] 6 times (18).
Round 4: [Incr, 2sc] 6 times (24).
Round 5: [Incr, 3sc] 6 times (30).
Rounds 6-9: Sc all stitches (30).
Round 10: [Incr, 4sc] 6 times (36).
Round 11: [Incr, 5sc] 6 times (42).
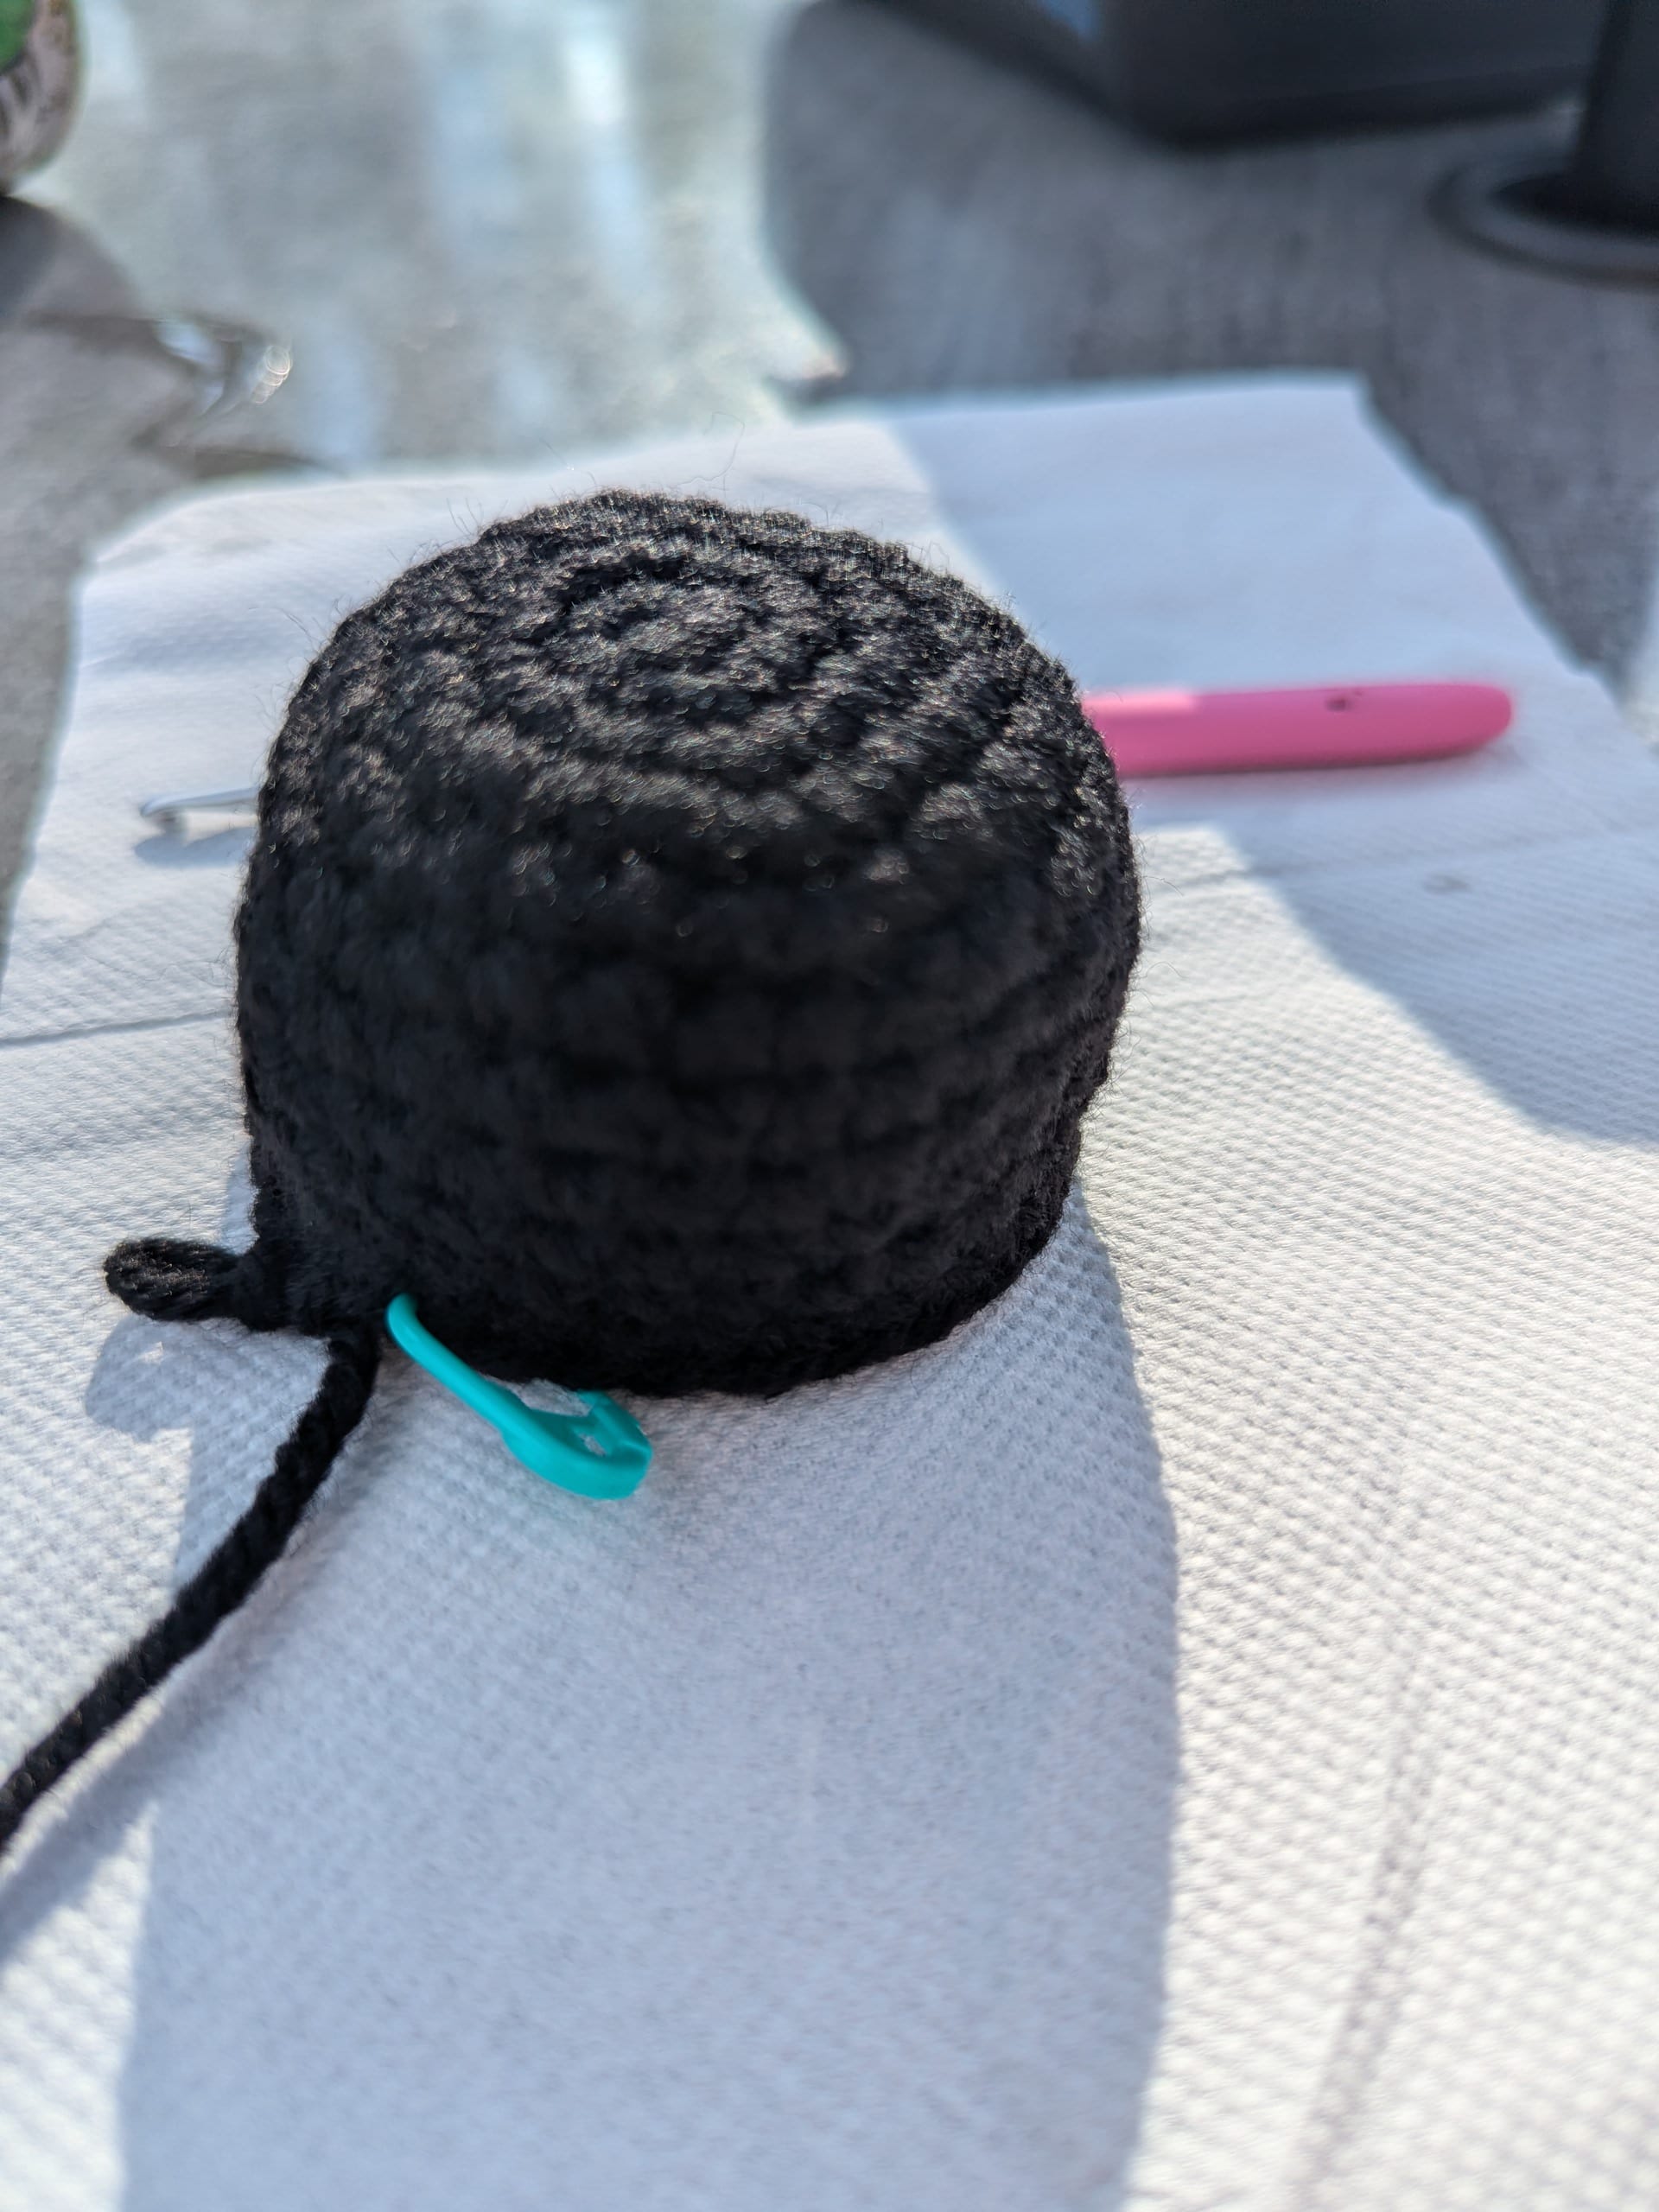
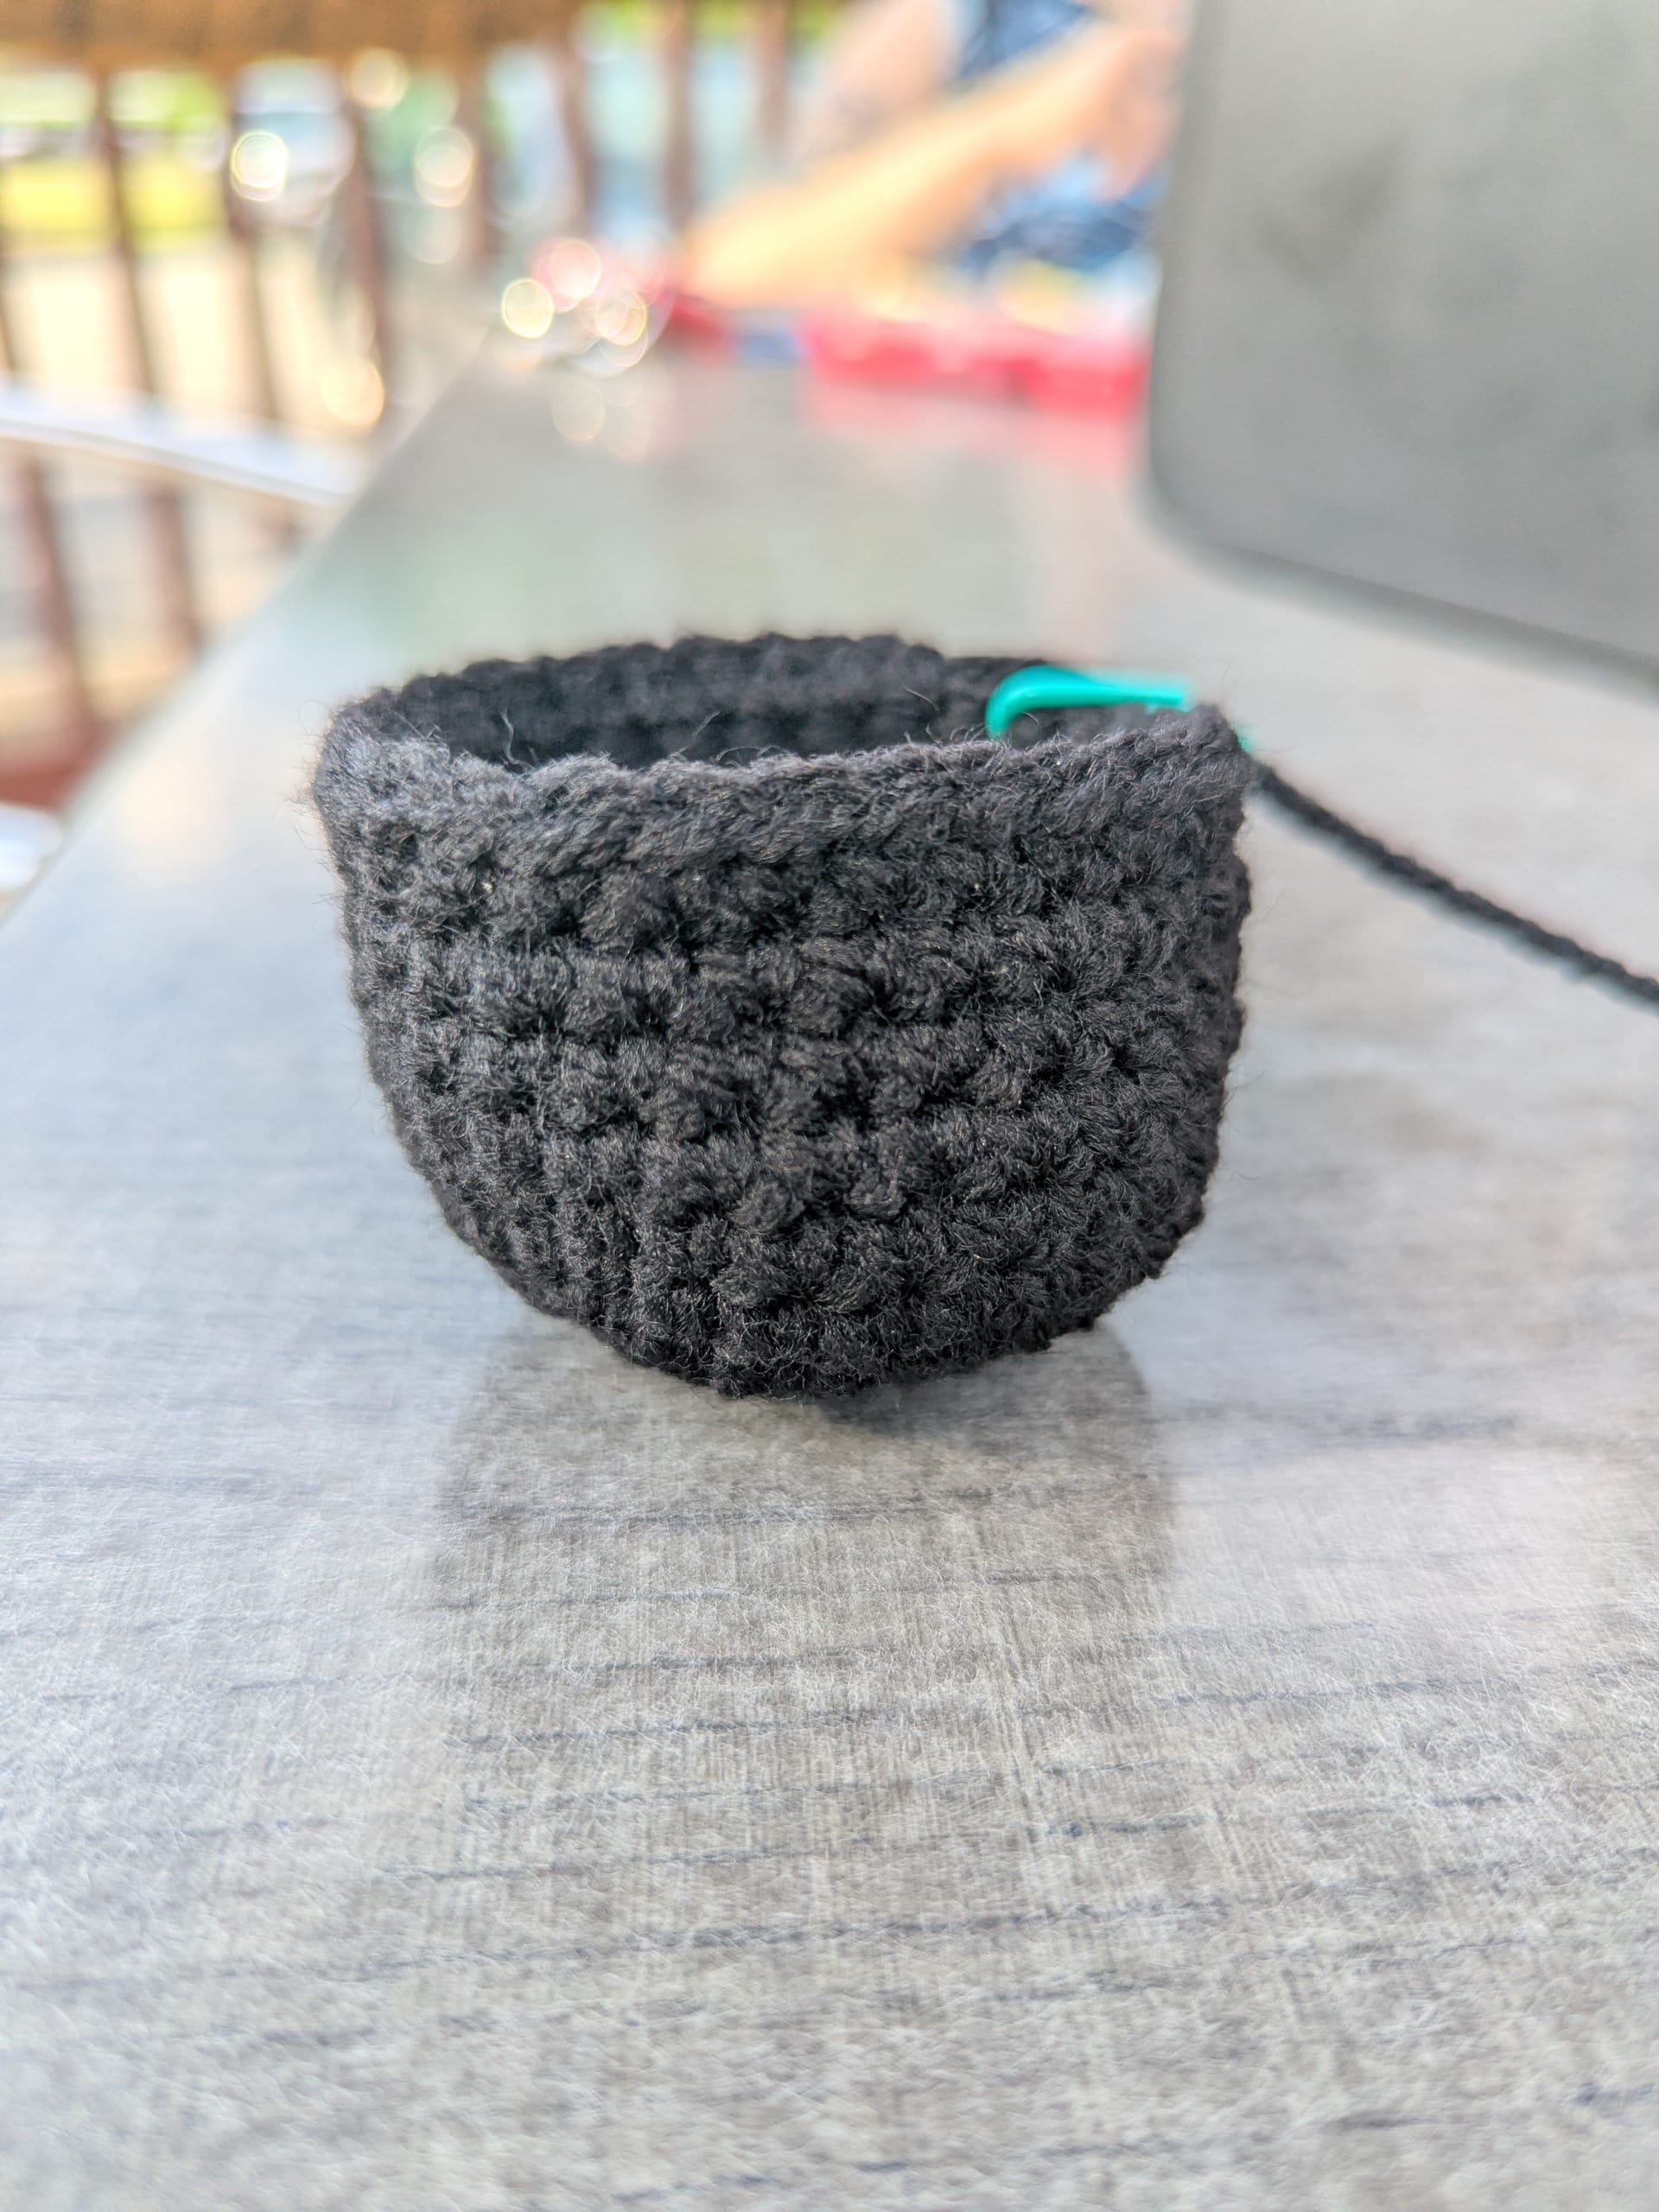
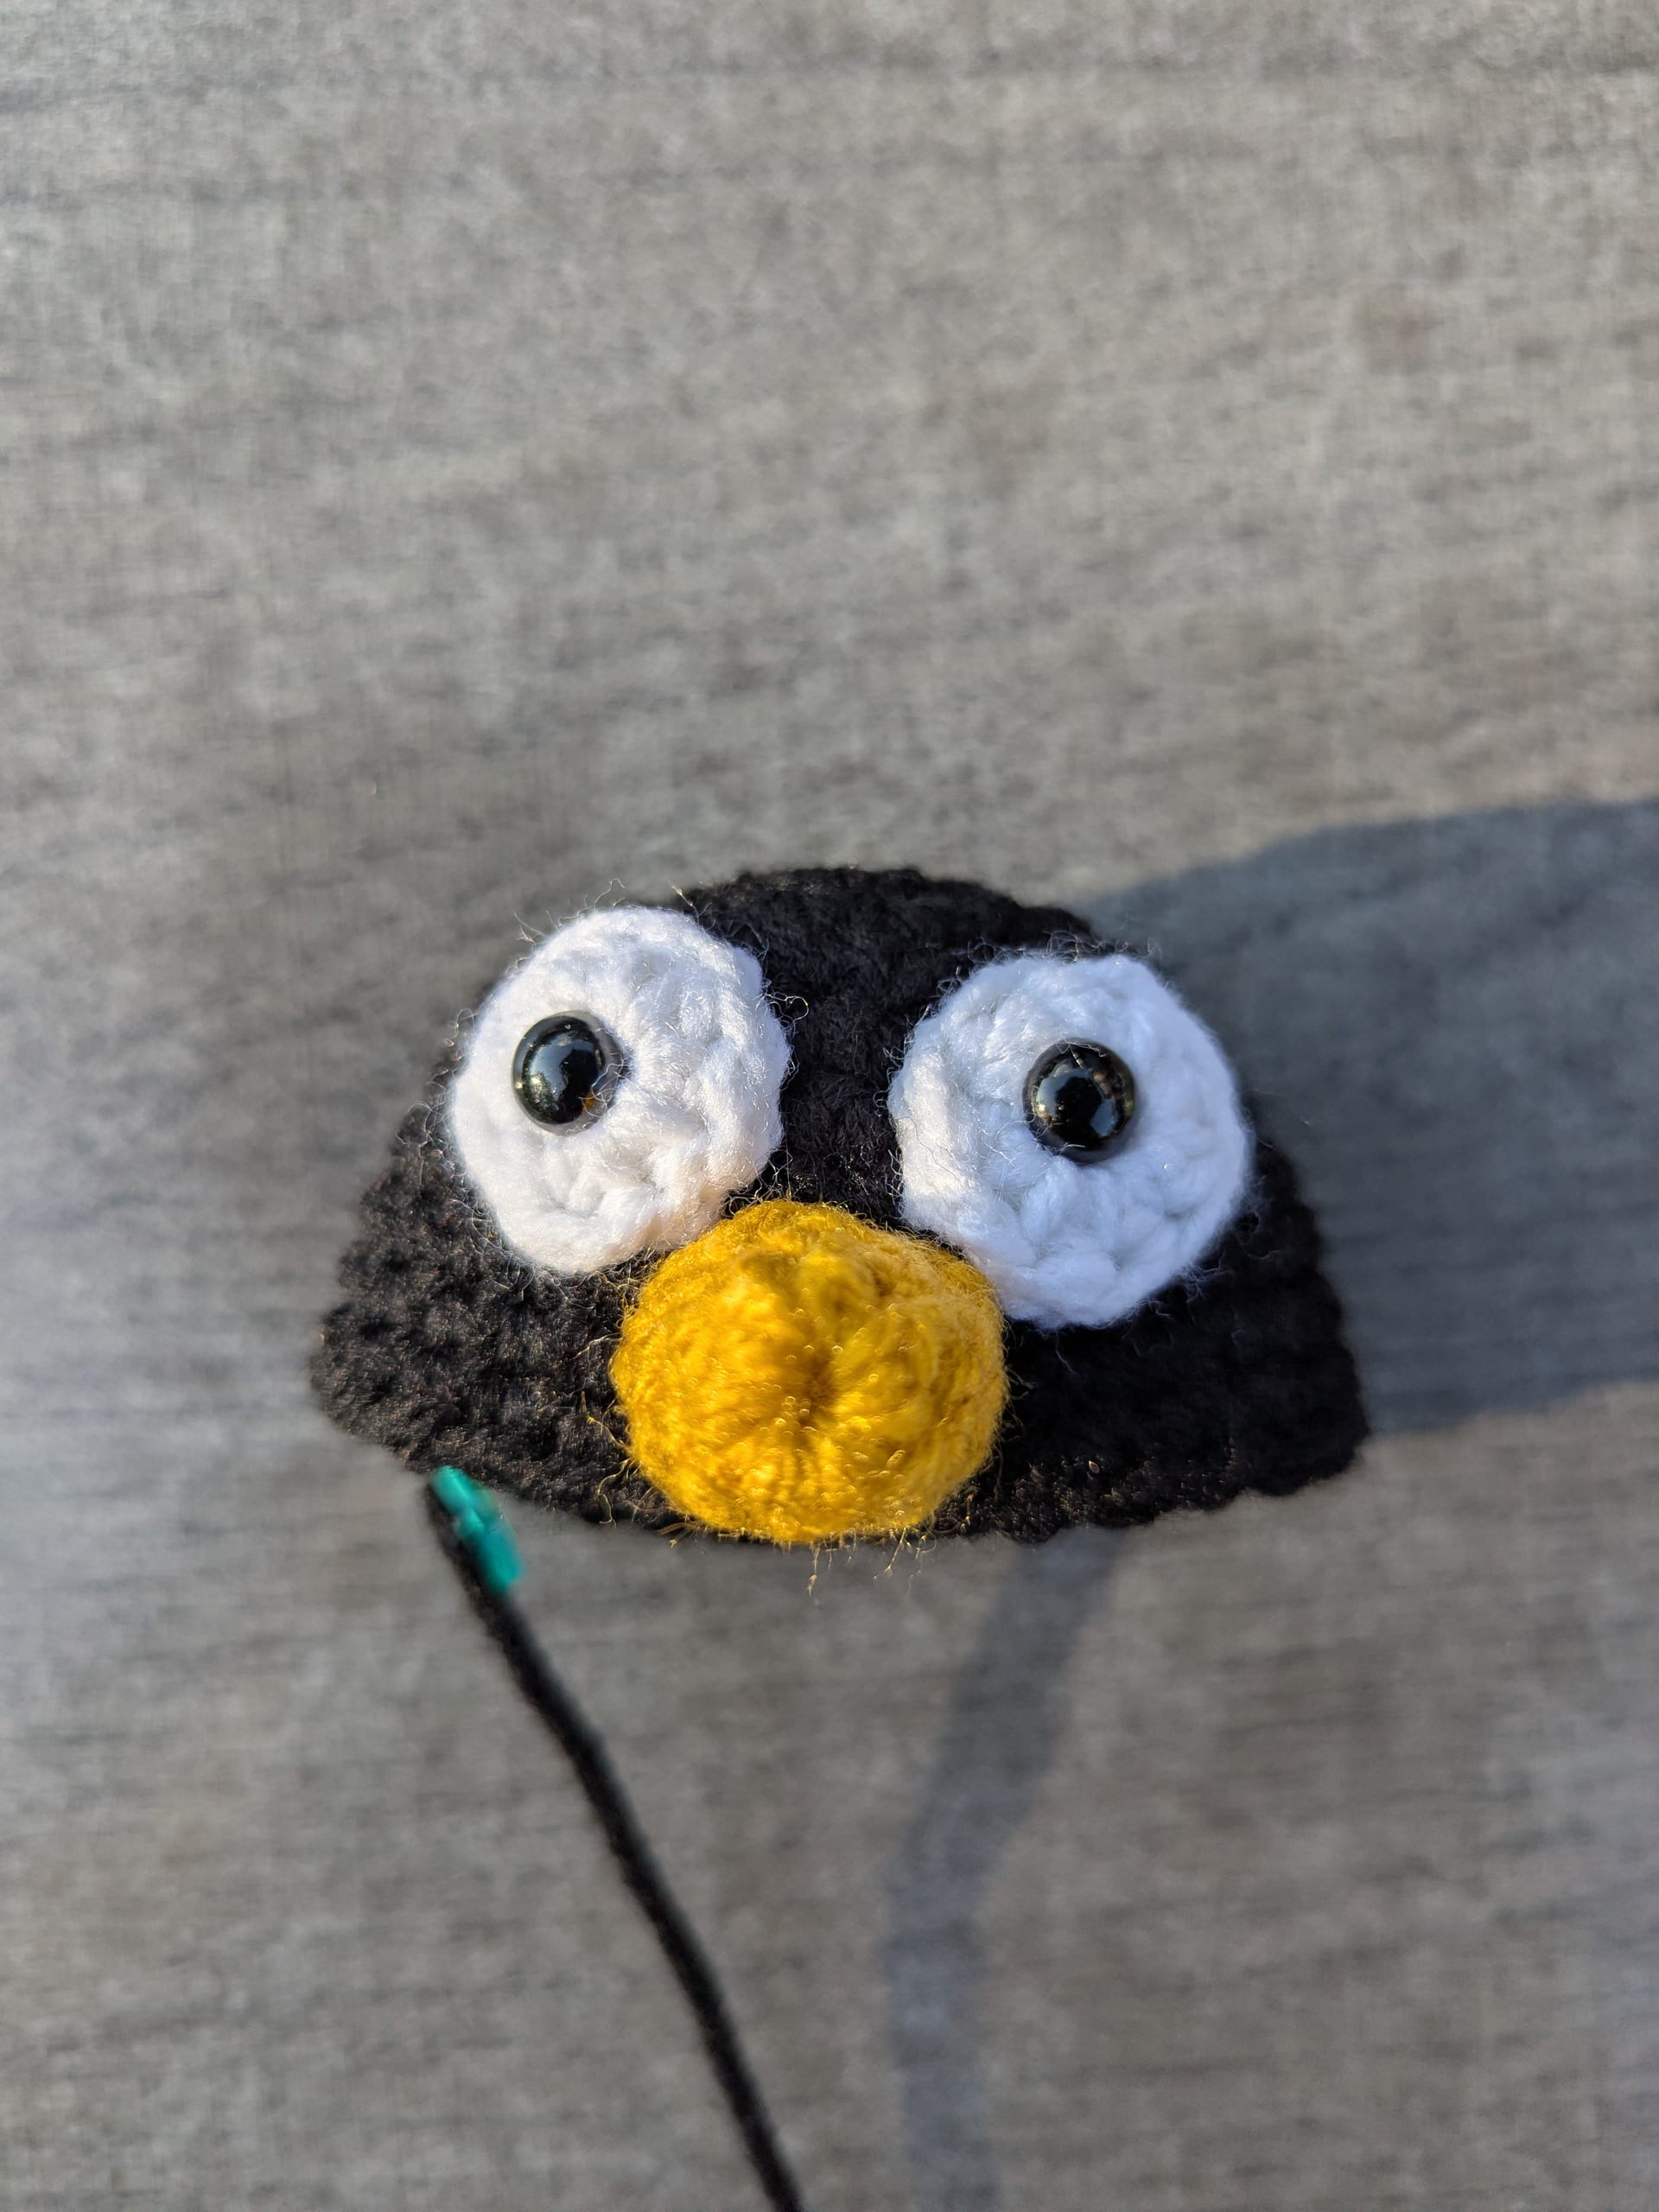
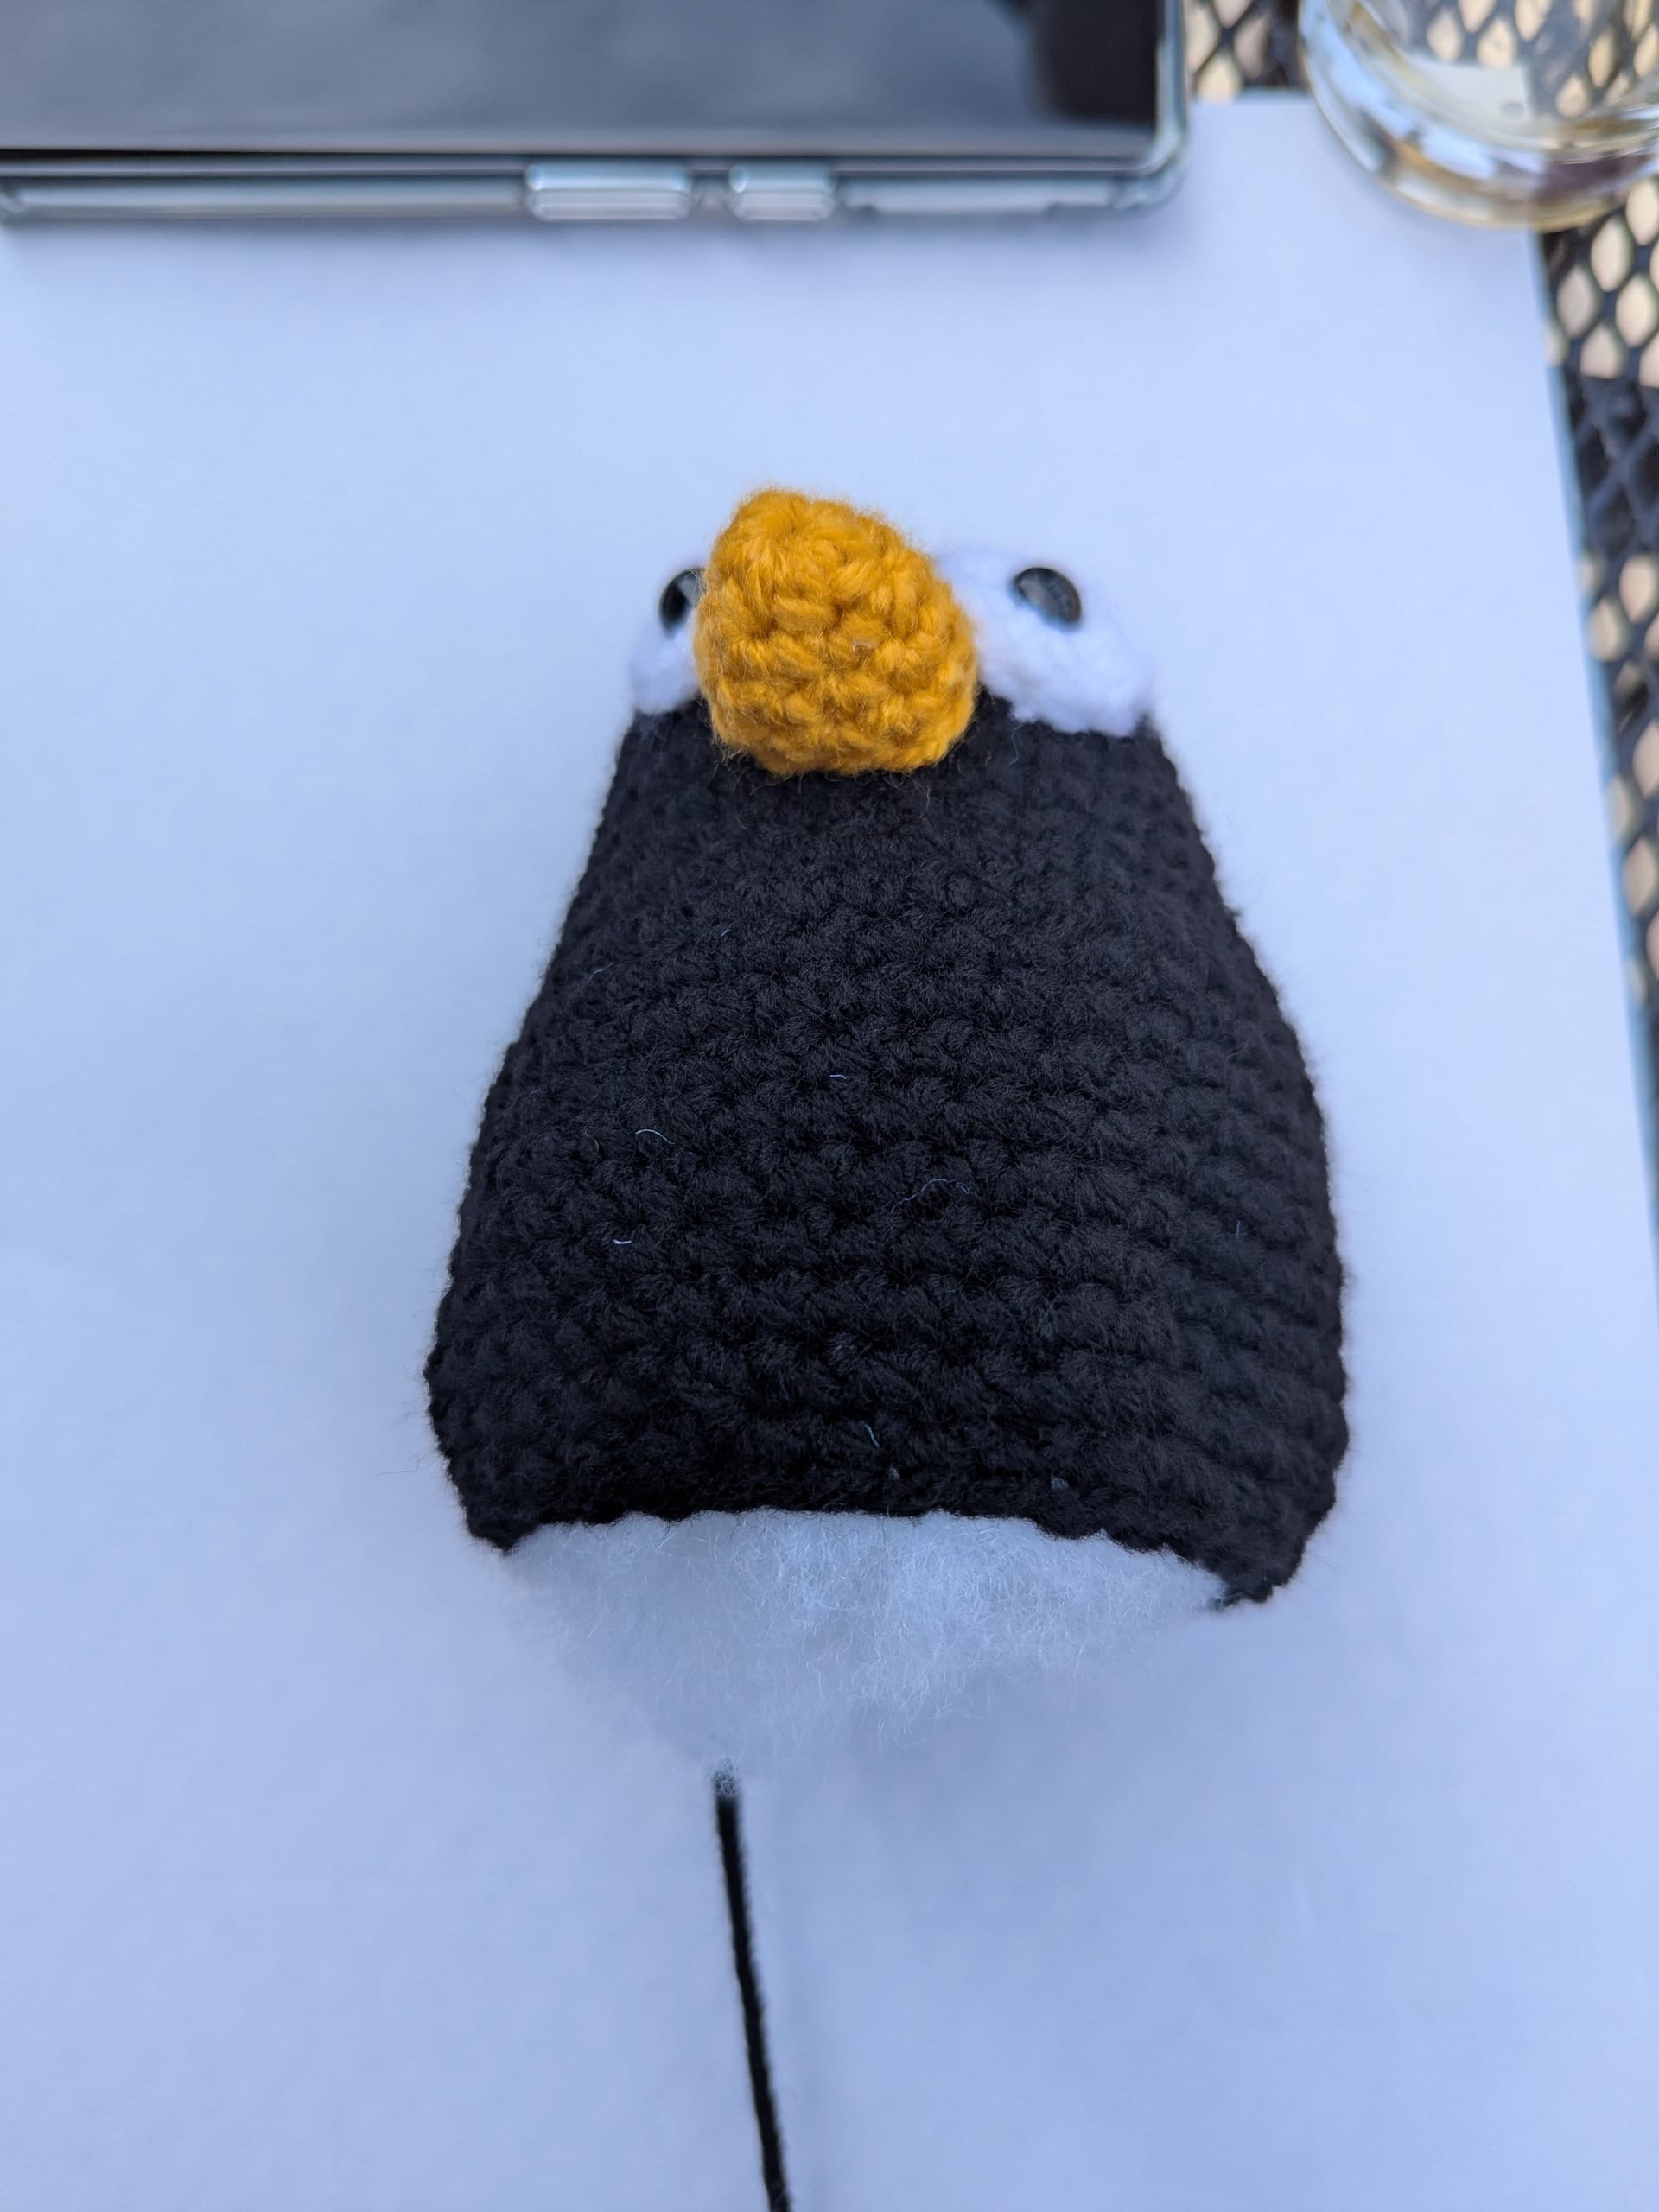
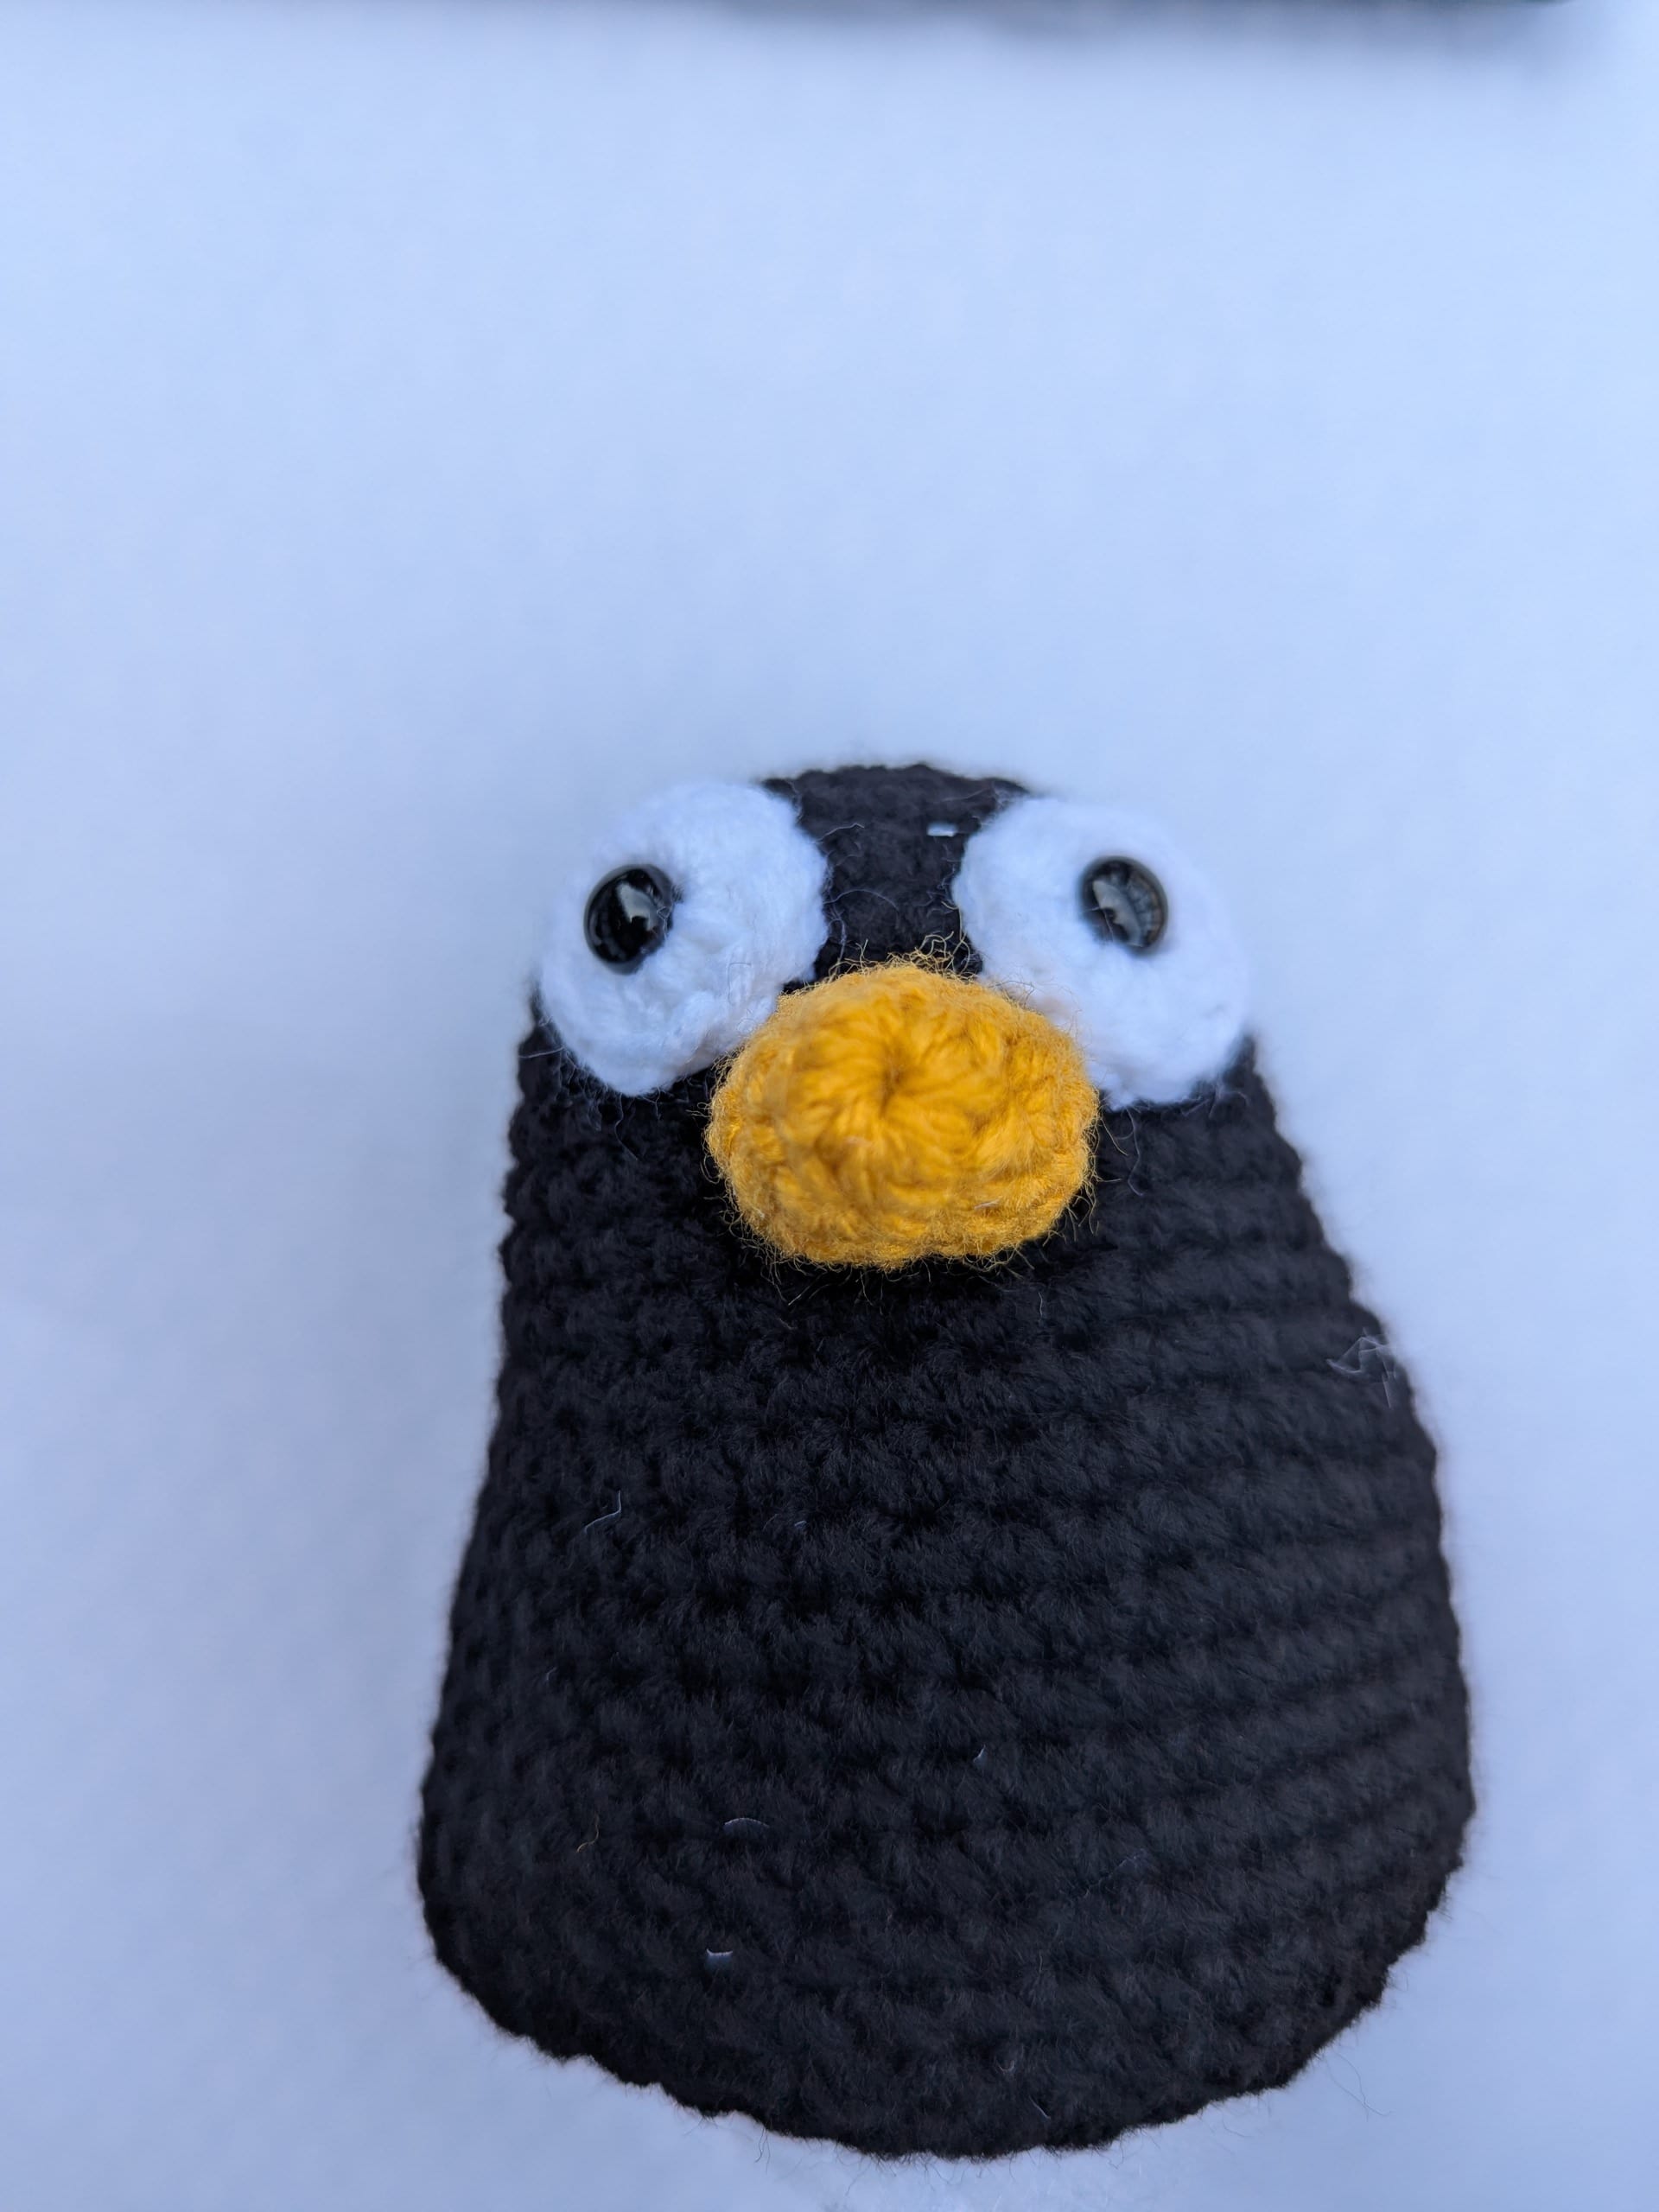
Place eyes where you like them and sew to head using the long white tails. For the bill, use the starting tail and stuff inside the bill (or use polyfil). Place bill below and in-between the eyes and sew using the end long tail. You can stuff the head with polyfil now or wait until later.
Rounds 12-20: Sc all stitches (42).
Stuff with polyfil. I like to stuff with a lot of polyfil. You can also include poly beads/pellets if you want Tux weighted down.
Round 21: [Decr, 5sc] 6 times (36).
Round 22: [Decr, 4 sc] 6 times (30).
Round 23: [Decr, 3 sc] 6 times (24).
Round 24: [Decr, 2 sc] 6 times (18).
Round 25: [Decr, sc] 6 times (12). Stuff with more polyfil.
Round 26: Decr 6 times (6). Cut yarn, close circle, and weave in the tail.
Chest: (Make 1)
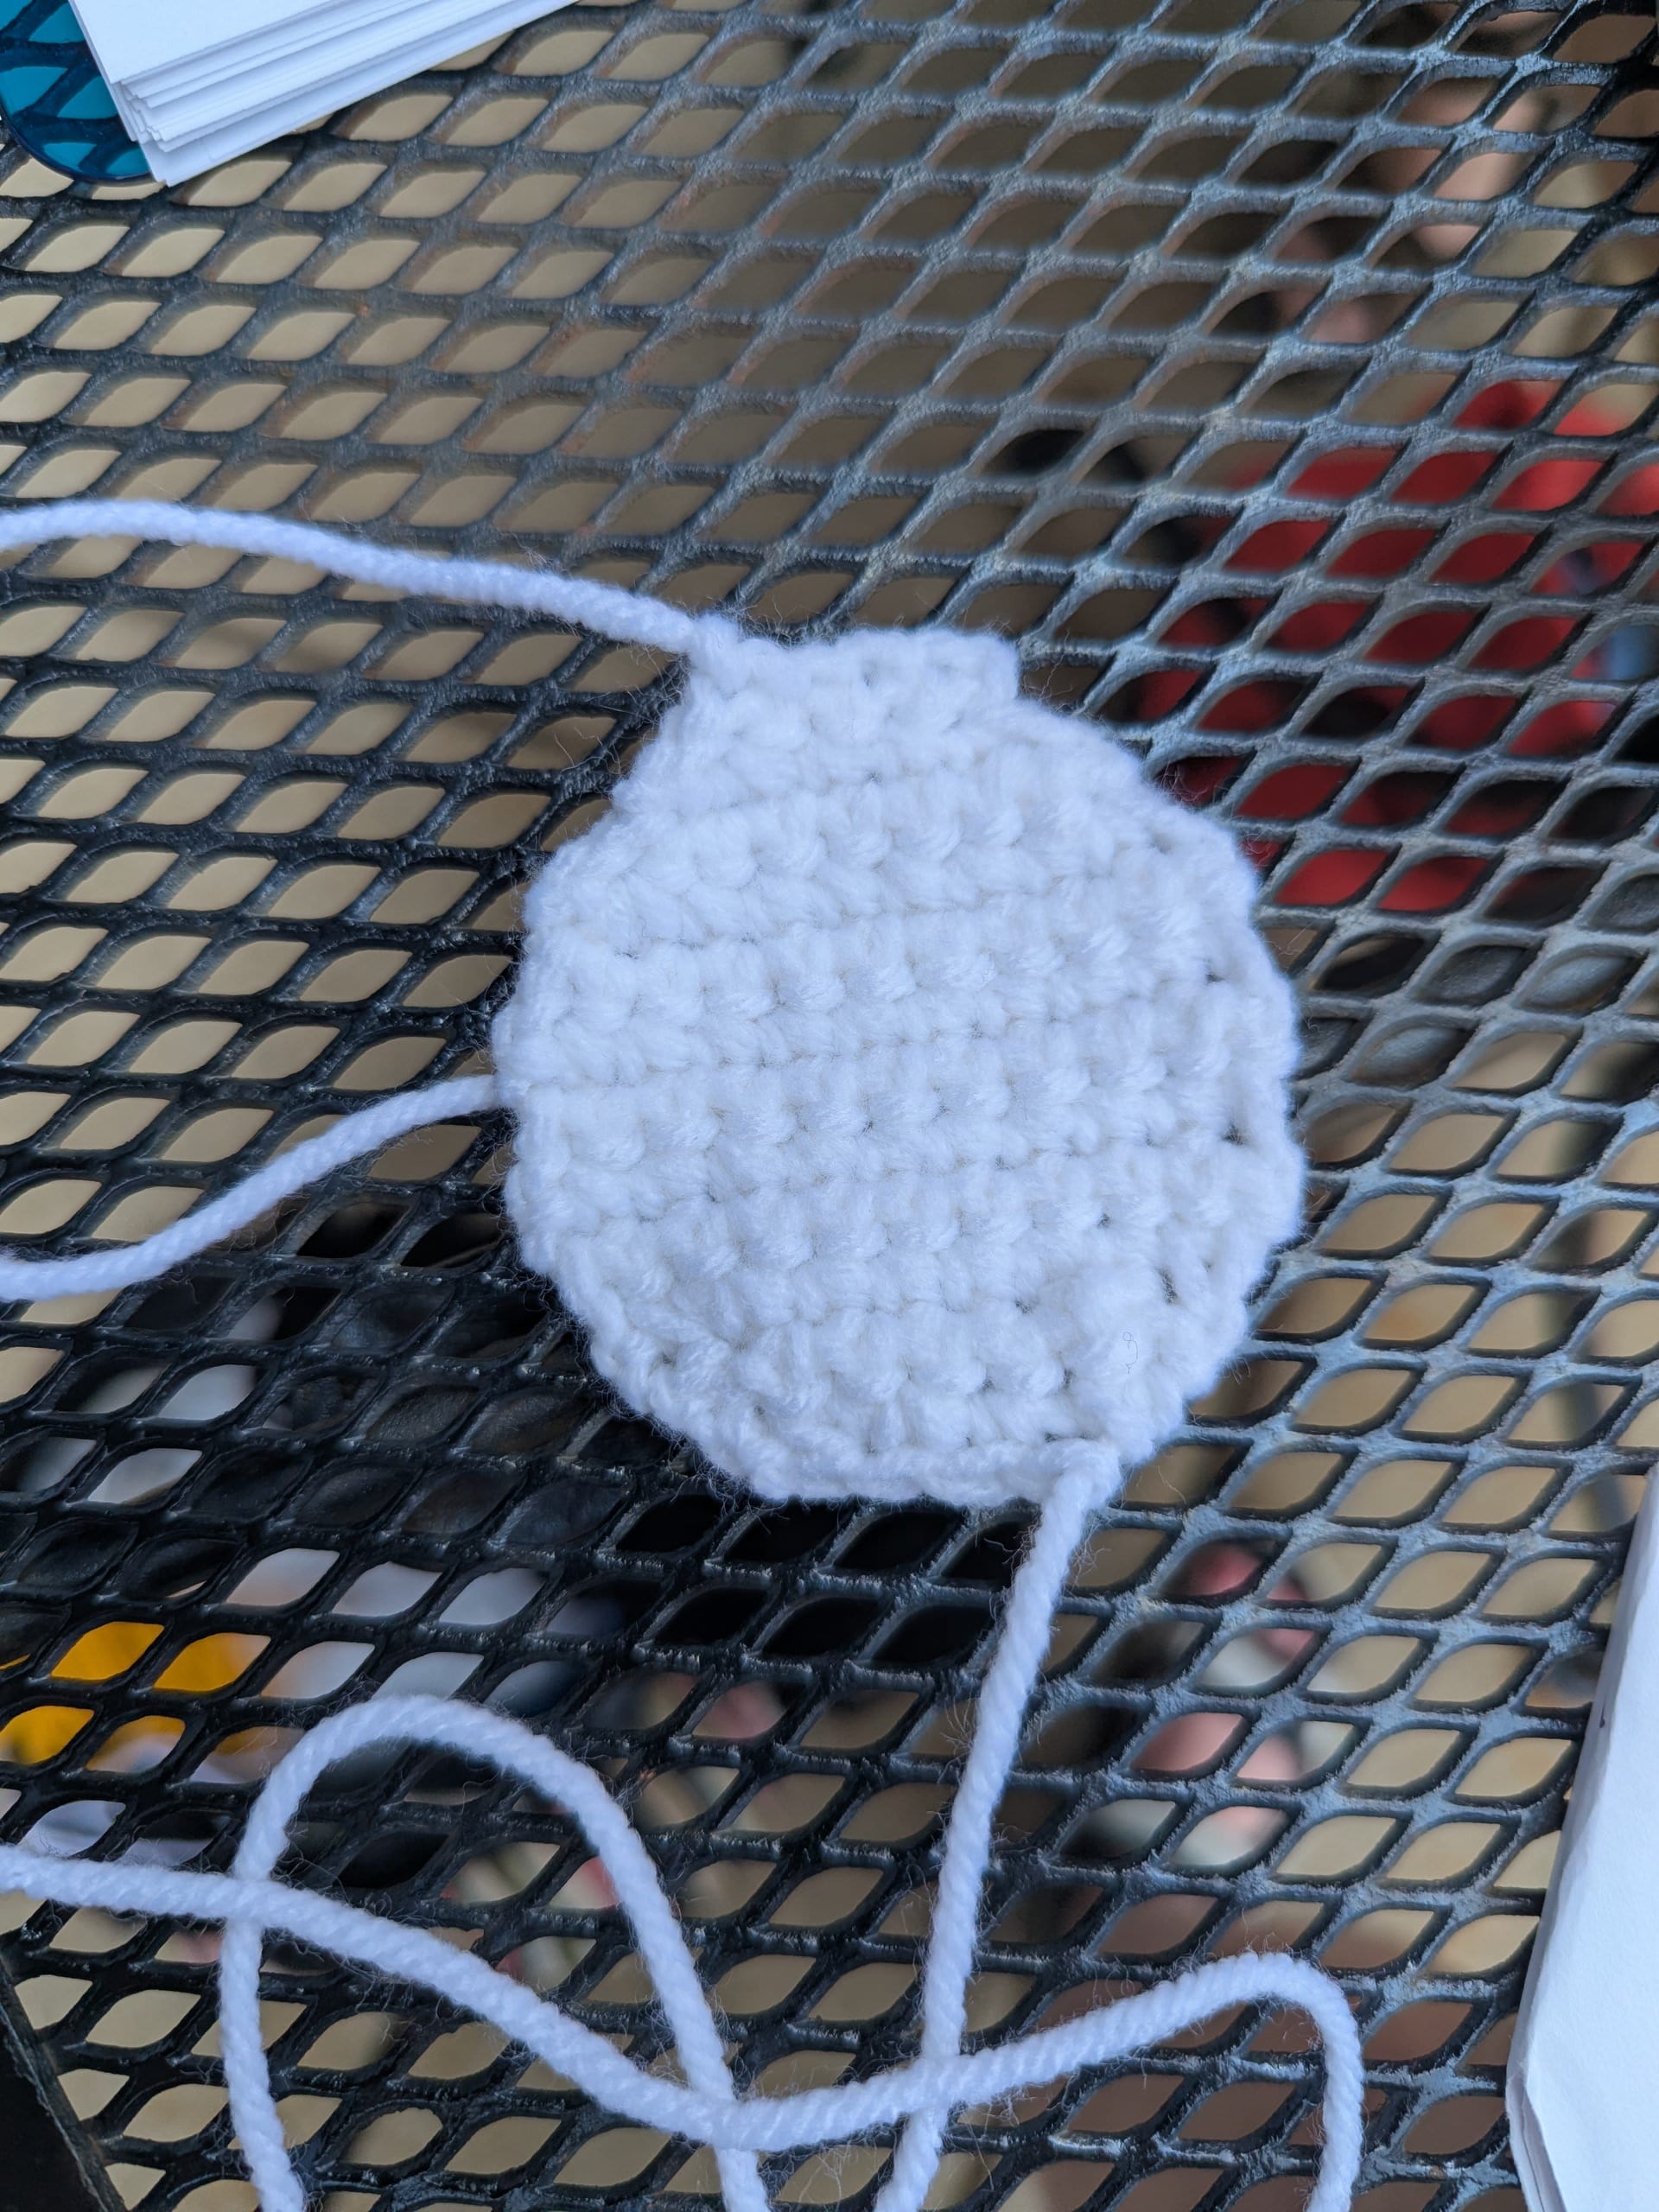
Row 1: With white yarn, leave a long tail, ch 5. Sc in second stitch from hook. Sc in next 3 chains (4).
Row 2: Turn. Incr, 2 sc, incr (6).
Row 3: Turn. Incr, 4 sc, incr (8).
Row 4: Turn. Incr, 6 sc, incr (10).
Rows 5 – 8: Turn. Sc all stitches (10).
Row 9: Turn. Decr, 6 sc, decr (8).
Row 10: Turn. Decr, 4 sc, decr (6).
Row 11: Turn. Decr, 2 sc, decr (4).
Leave a long tail and cut yarn. Place chest under the bill and sew to body with both tails of yarn.
Webbed Feet: (Make 2)
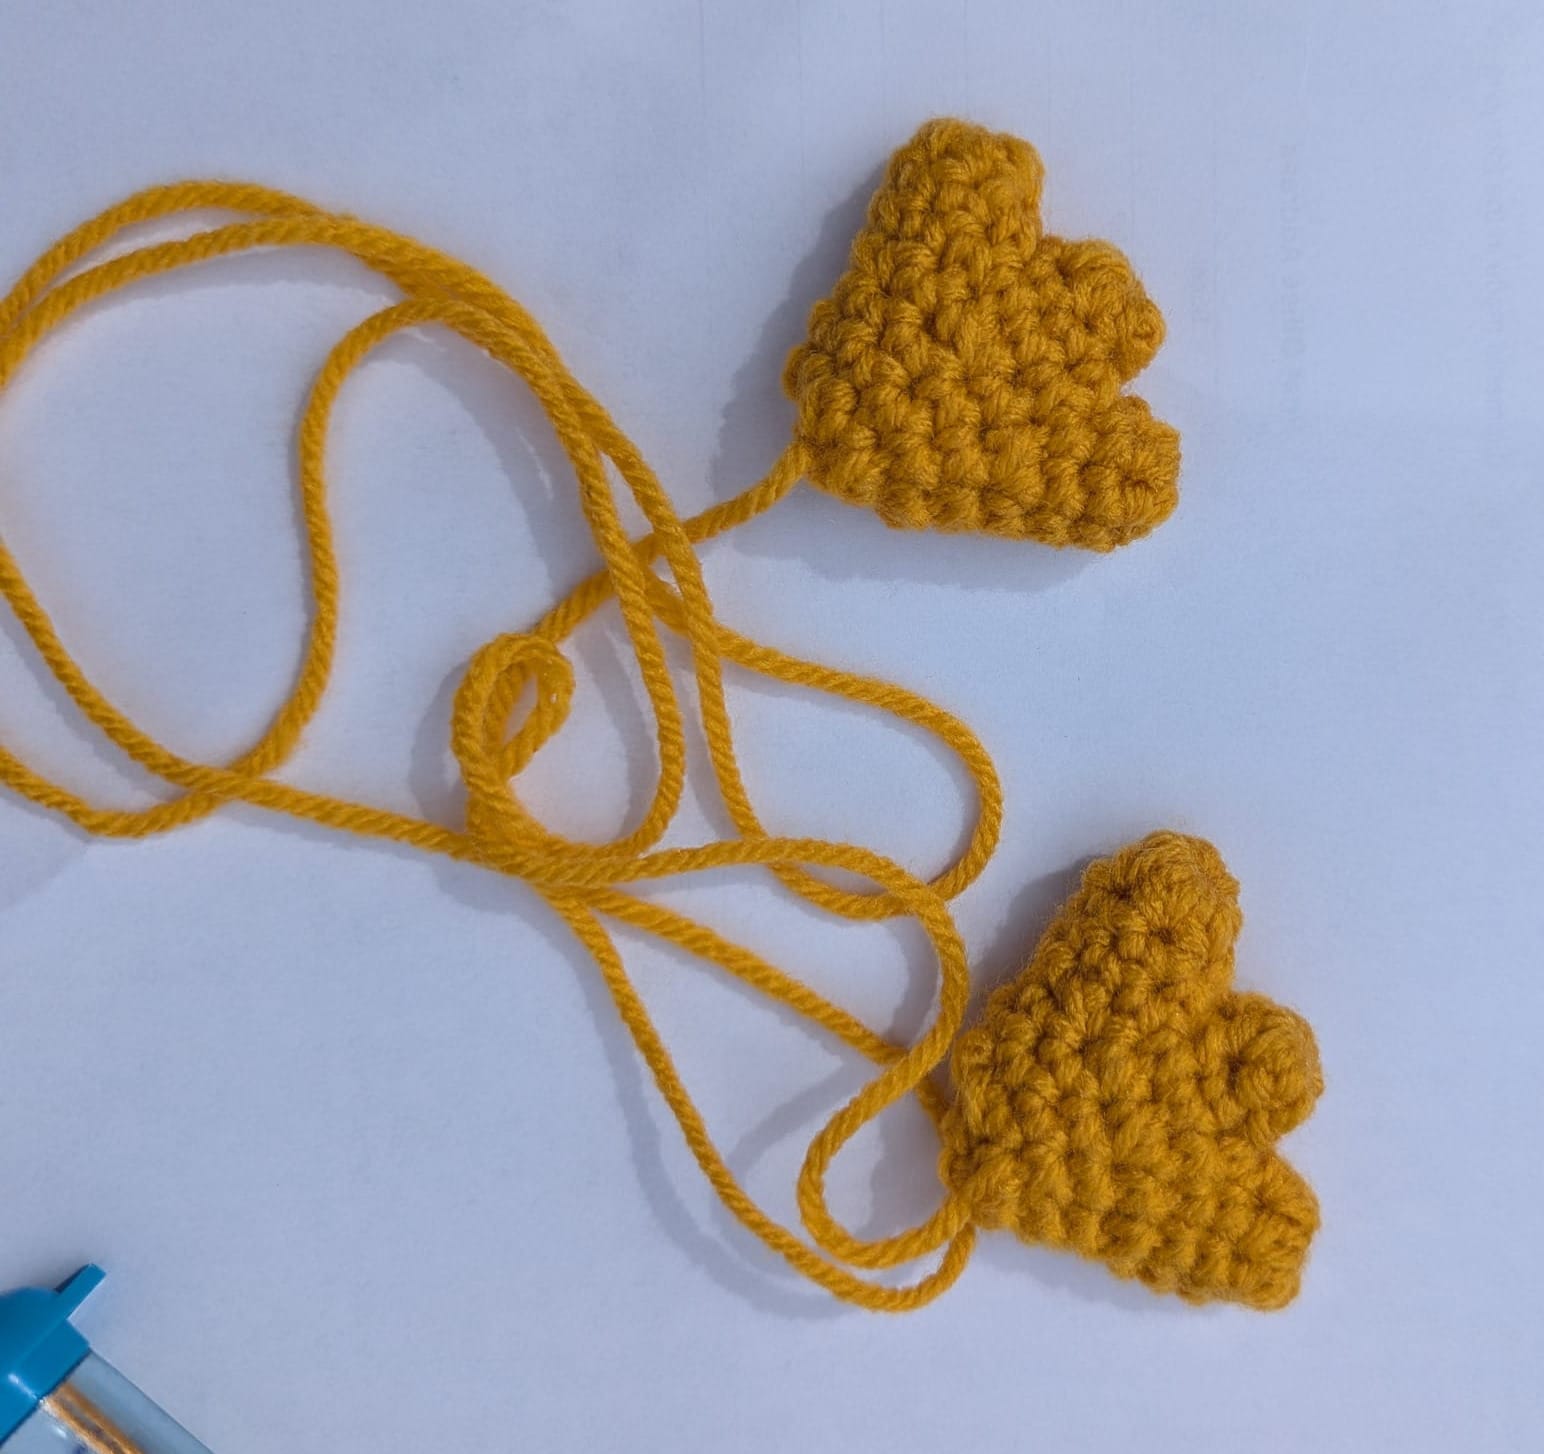
Round 1: With gold yarn, leave a long tail and 6 hdc in magic ring (6). Close magic ring. Slst with the first stitch. Leave a long tail and cut yarn. Repeat twice but don’t cut yarn on the last toe.
Round 2: You’ll be attaching each of the three toes in this round. Using the toe with the working yarn, 3sc. 3sc into one of the other toes. 3 sc into the last toe. You’ll now have 9 stitches across the 3 attached toes. Sc 3 stitches on the other side of each toe (18).
Round 3: Sc all stitches (18).
Round 4: [Decr, sc] 6 times (12).
Rounds 5-6: Sc all stitches (12). Use all the tails to stuff the foot.
Round 7: Decr 6 times (6). Leave a long tail and cut yarn. Sew to body.
Flippers: (Make 2)
Row 1: With black yarn, leave a long tail and ch 3. In second stitch from hook, sc. Sc (2).
Row 2: Incr 2 times (4).
Row 3: Sc all stitches (4).
Row 4: 2 sc, incr, sc (5).
Rows 5-8: Sc all stitches (5). Leave a long tail and cut yarn.
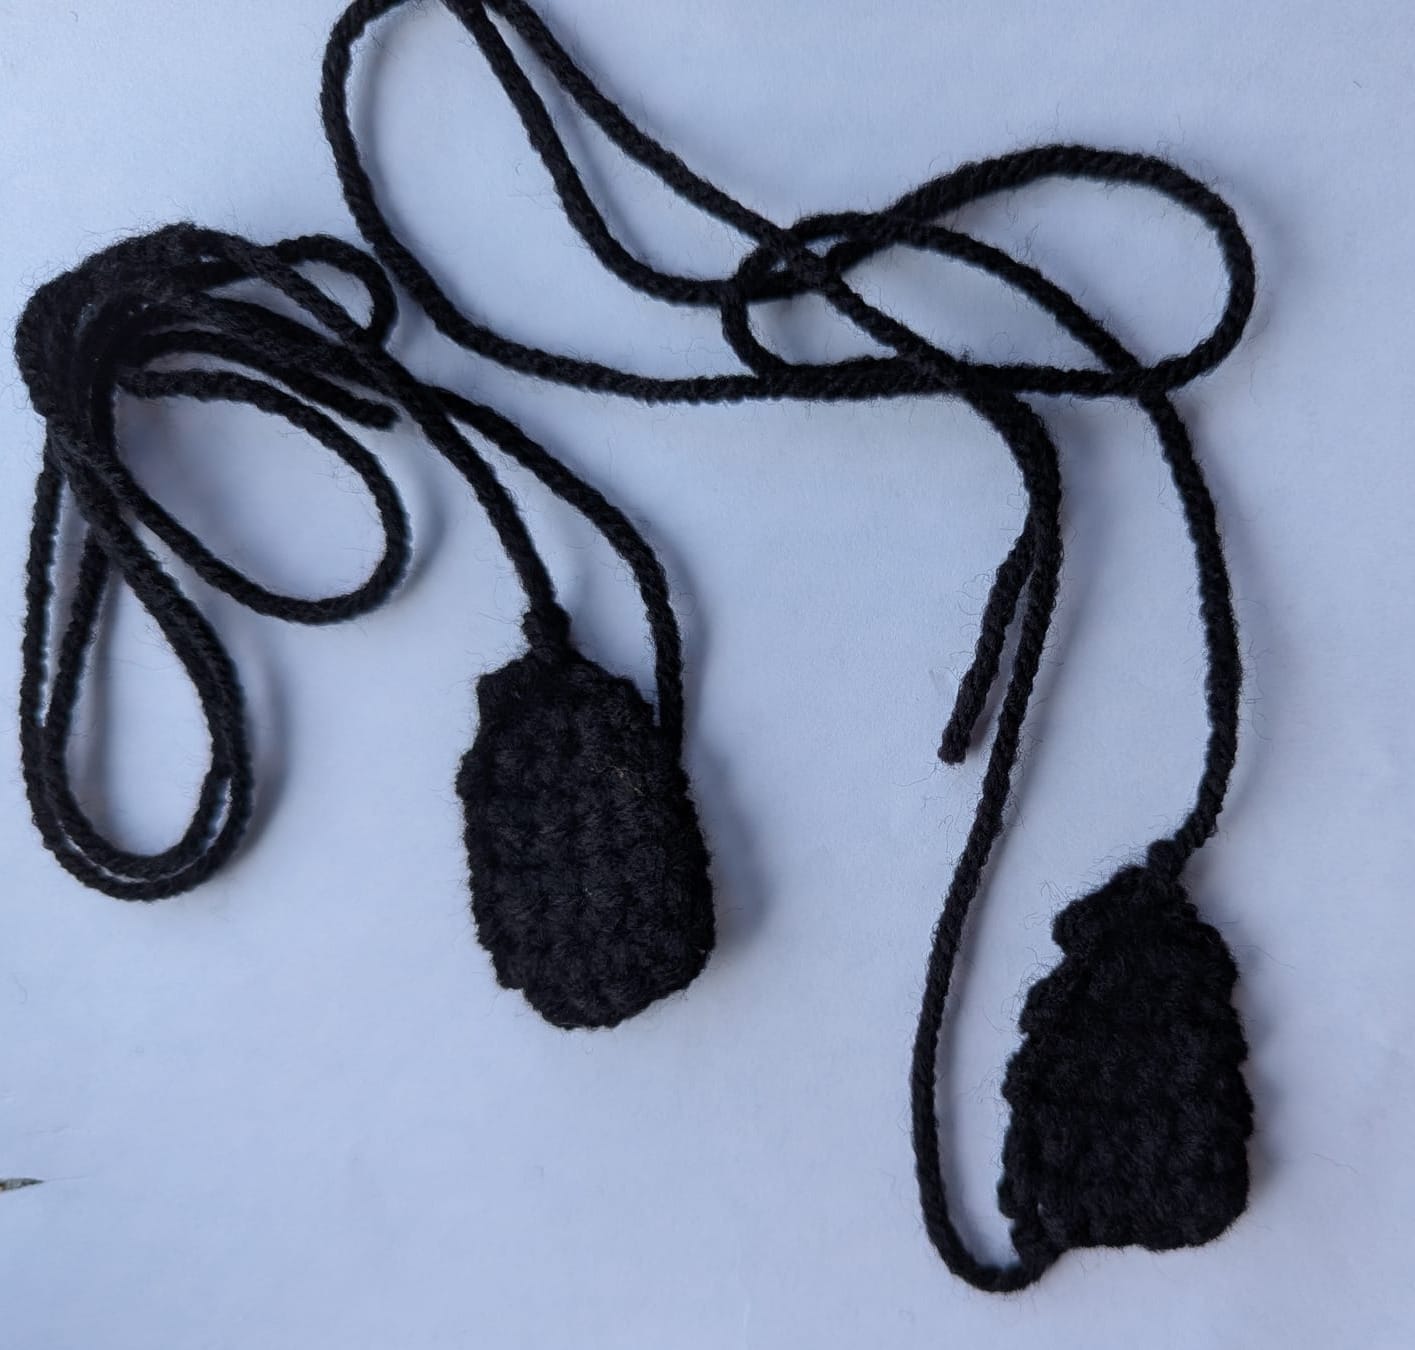
Sew flippers to body as shown. The tip of one flipper is sewn above/over the foot. The other flipper is below/under the foot.
You're finished! Congratulations!